

Oh, let me tell you, making peppermint candy is like stepping into a sweet time machine! There’s something so magical about the way the fresh peppermint scent fills the kitchen, reminding me of cozy holidays and childhood treats. I remember making these little delights with my grandma, and the joy on our faces as we pulled and shaped the warm, sticky mixture was just the best. The process is so simple, yet so rewarding, and trust me, once you taste homemade peppermint candy, you’ll never want to go back to store-bought! It’s the perfect treat to share with friends, family, or even just to indulge in yourself. So, grab your ingredients and let’s dive into the world of vibrant, minty goodness together!
Ingredients List
- 1 cup granulated sugar
- 1/3 cup water
- 1/2 teaspoon peppermint extract
- Red food coloring
How to Prepare Peppermint Candy
Step 1: Combine Sugar and Water
First things first, grab a saucepan and toss in that cup of granulated sugar along with 1/3 cup of water. Give it a quick stir to combine the two ingredients. This is where the magic begins! You want to make sure everything is mixed well before we heat things up.
Step 2: Heat Until Dissolved
Now, place your saucepan over medium heat. This step is crucial because we want the sugar to dissolve smoothly without burning. Keep an eye on it and stir occasionally. You’ll know it’s ready when the mixture looks clear and there are no sugar granules left—just a lovely syrupy concoction!
Step 3: Boil to 300°F
Once dissolved, crank up the heat and bring it to a boil! Here’s where you need to be careful. Use a candy thermometer to monitor the temperature until it reaches 300°F. This is the hard crack stage, and it’s vital for that perfect candy texture. Stay close and don’t walk away; you don’t want it to overcook!
Step 4: Add Peppermint Extract
As soon as you hit that magic temperature, remove the saucepan from heat and quickly stir in 1/2 teaspoon of peppermint extract. Wow, the smell is incredible! This is also a great time to taste it—just be careful; it’s hot! If you want an even bolder flavor, you can add a touch more extract, but I think this amount is just right.
Step 5: Color the Mixture
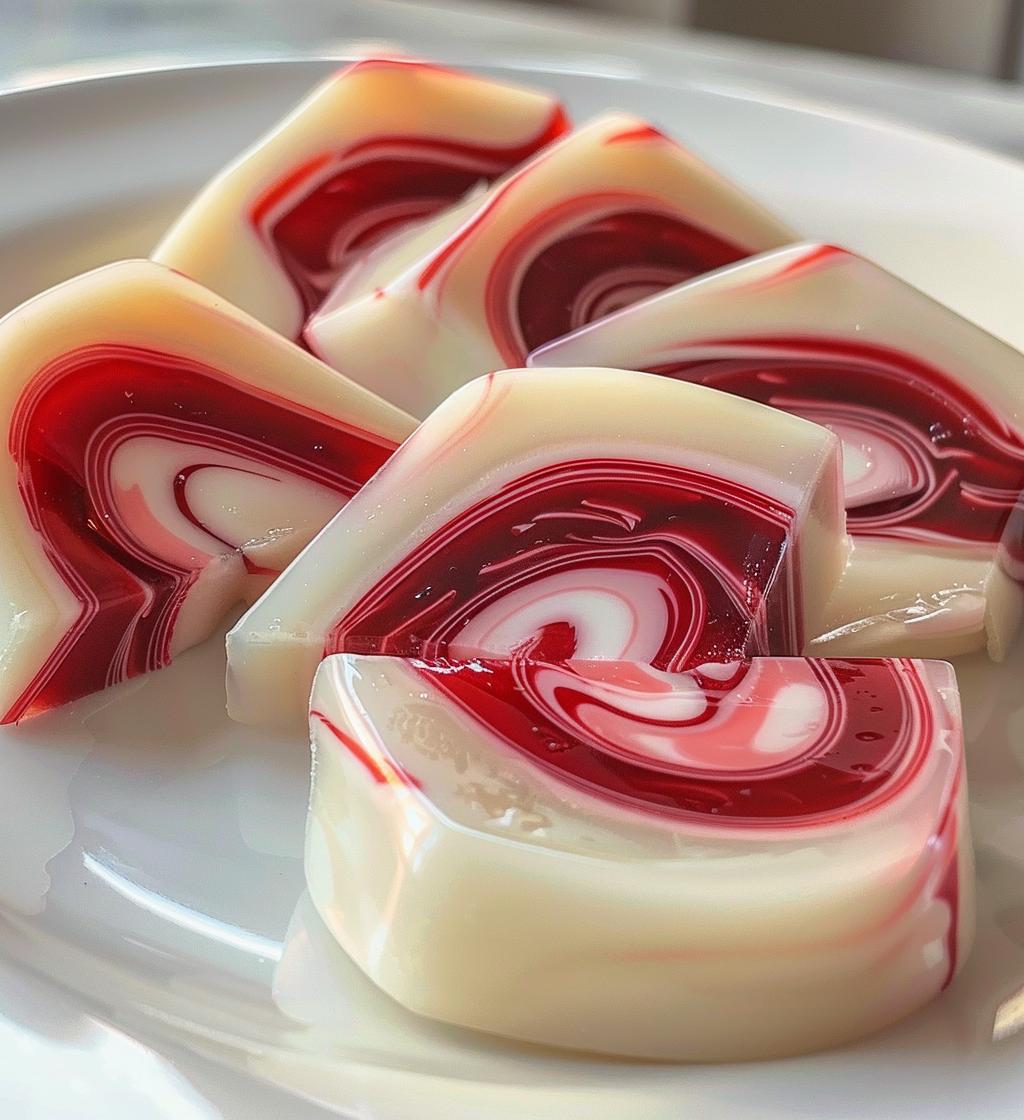
Next, divide the hot mixture into two bowls. Now comes the fun part! Add a few drops of red food coloring to one bowl and give it a good stir until you get that vibrant color. The contrasting colors will make your peppermint candies look super festive and fun!
Step 6: Pour and Shape
Carefully pour both mixtures onto a greased surface—parchment paper works great here. Let them cool for just a few minutes; you want them to be warm but not too hot to handle. The cooling process is important because you’ll need to be able to shape the candy soon!
Step 7: Pull and Shape Into Candy
Once the mixture is cool enough to touch, it’s time to get your hands in there! Grease your hands lightly and start pulling and shaping the candy. This is where it gets a bit sticky, but don’t worry; it’s all part of the process! Pull the candy to create those beautiful strands, and then twist and shape them into whatever forms your heart desires. Just think of the delightful pieces you’ll have to share (or keep for yourself)!
Why You’ll Love This Recipe
- Quick Preparation: You can whip up these peppermint candies in just 25 minutes from start to finish. Perfect for last-minute treats!
- Simple Ingredients: With only four basic ingredients, it’s easy to gather what you need and get started without any fuss.
- Delightful Flavor: The fresh, minty burst of peppermint is simply irresistible, making these candies a refreshing treat!
- Great for Gifting: These homemade candies make thoughtful gifts. Package them up in cute boxes or bags to share with friends and family during the holidays or special occasions.
Tips for Success
Alright, if you want to nail this peppermint candy recipe, here are my top tips to ensure everything goes smoothly! First, timing is key. Keep a close watch on your mixture as it boils; if you let it go too long, it can burn quickly. I always set a timer for when it reaches that magical 300°F mark, just to be safe!
Next, don’t forget about your candy thermometer! It’s your best friend here. Make sure it’s calibrated correctly and fully submerged in the mixture without touching the bottom of the pan. This ensures an accurate reading, which is crucial for achieving that perfect hard crack stage.
When it comes to storing your peppermint candy, keep it in an airtight container to maintain its freshness. Humidity can ruin that delightful crunch, so I recommend placing a piece of parchment paper between layers if you’re stacking them. If you notice the candy getting sticky, you can sprinkle a little powdered sugar on them to keep them from clumping together.
Also, feel free to experiment with flavors! While peppermint is a classic, you can switch things up by trying out other extracts like vanilla or almond for a unique twist. Just remember to adjust the quantities based on how strong you want the flavor to be.
Lastly, have fun with it! This is your candy, so let your creativity shine when it comes to shaping and coloring. Each batch can look a little different, and that’s what makes it special. Happy candy making!
Nutritional Information
Here’s the estimated nutritional breakdown for each piece of this delightful peppermint candy:
- Calories: 50
- Sugar: 12g
- Fat: 0g
- Saturated Fat: 0g
- Unsaturated Fat: 0g
- Trans Fat: 0g
- Carbohydrates: 13g
- Fiber: 0g
- Protein: 0g
- Cholesterol: 0mg
- Sodium: 0mg
Keep in mind that these values are estimates, and actual nutritional content may vary depending on specific ingredients used. But isn’t it nice to have a sweet treat that’s low in fat? Enjoy your homemade peppermint candy guilt-free!
FAQ Section
Can I substitute other flavors for peppermint?
Absolutely! While peppermint is a classic, you can experiment with other flavors like spearmint, vanilla, or almond extract. Just adjust the amount according to your taste preference. Remember, some flavors can be stronger than others, so start with a little and add more if needed!
How do I store my peppermint candy?
To keep your peppermint candy fresh and crunchy, store it in an airtight container at room temperature. If you live in a humid area, consider placing a piece of parchment paper between layers to prevent sticking. Avoid the fridge, as the moisture can ruin the texture!
Can I make this candy ahead of time?
Definitely! These little delights can be made a few days in advance. Just make sure to store them properly in an airtight container so they stay fresh. They’re perfect for holiday gifting or as a sweet treat whenever the craving strikes!
What if my candy is too sticky?
If you find your peppermint candy is too sticky to handle, try dusting it lightly with powdered sugar. This can help reduce the stickiness and make it easier to pull and shape. Just be careful not to overdo it; you want to keep that lovely peppermint flavor intact!
Can I use food coloring other than red?
Of course! Feel free to get creative with your colors. You can use green for a classic holiday look or even mix colors for a fun, swirled effect. The sky’s the limit when it comes to making your peppermint candy visually appealing!
What’s the best way to cut the candy?
If you want uniform pieces, let the candy cool completely, then use a sharp knife to cut it. Make sure to lightly grease the knife to avoid sticking. If you prefer the rustic look, you can just break it by hand into pieces—each one will be uniquely shaped!
Storage & Reheating Instructions
Storing your homemade peppermint candy properly is key to keeping that delightful crunch and fresh flavor intact! Once your candies have cooled completely, make sure to place them in an airtight container. I love using a glass jar or a sturdy plastic container for this, as it helps keep moisture out. If you’re stacking them, I recommend placing a piece of parchment paper between layers to prevent them from sticking together.
They’re best stored at room temperature, away from direct sunlight and any humid areas. If you live in a particularly humid climate, just keep an extra eye on them, as humidity can make your candies sticky and lose that satisfying crunch we all love!
Now, if you find yourself with leftover candy (which, let’s be honest, is rare!), you can keep it for up to two weeks. Just make sure that container is sealed tight! And if your candies do start to lose their texture, a light dusting of powdered sugar can help revive them a bit.
As for reheating, there’s really no need! These candies are meant to be enjoyed as is. Just grab a piece whenever you need a sweet pick-me-up. Trust me; they’re just as delightful straight from the jar as they are fresh out of the mix!