

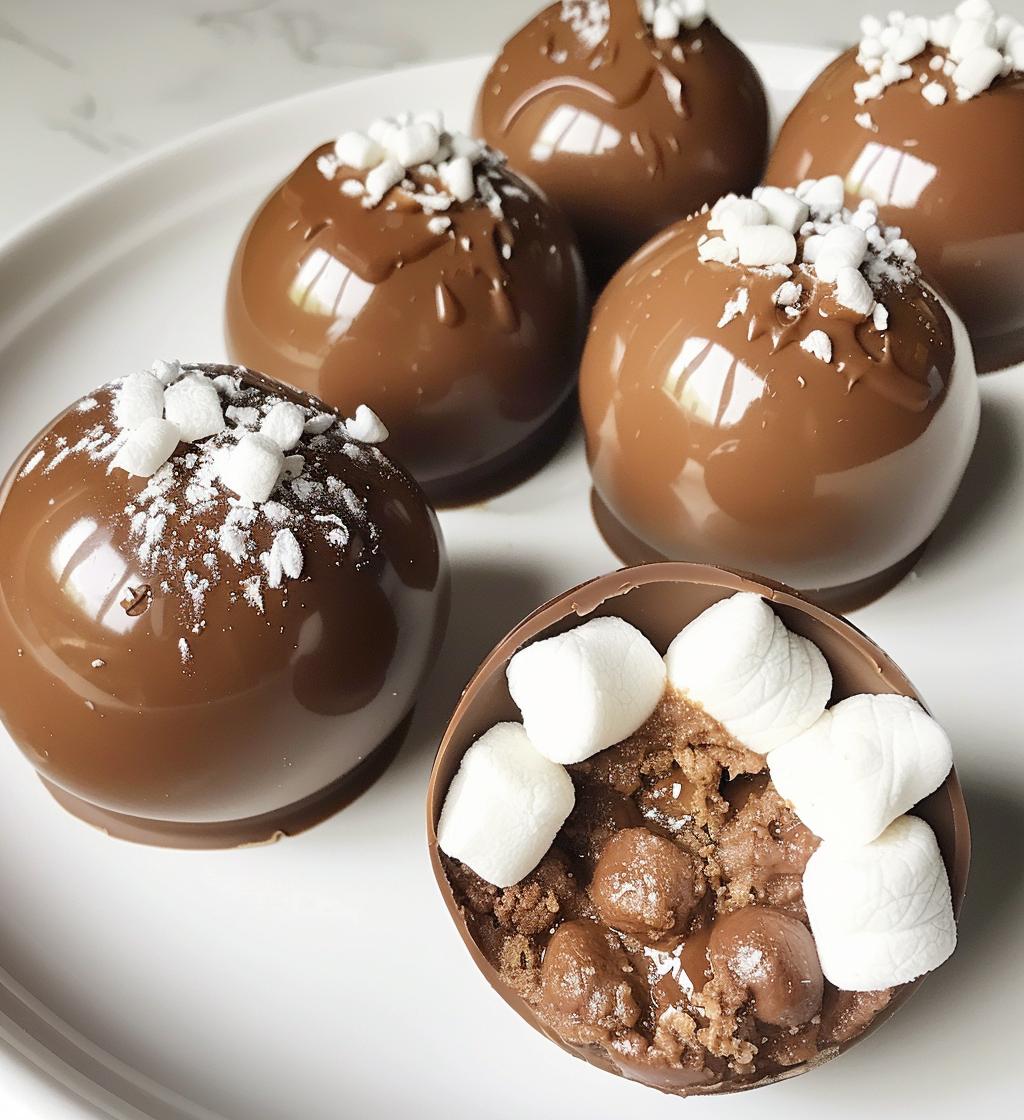
Oh my goodness, let me tell you about hot cocoa bombs! These delightful little chocolate spheres are not just a treat; they’re an experience! I remember the first time I made them with my kids on a chilly winter afternoon. We filled our kitchen with laughter as we melted chocolate and stuffed the bombs with fluffy marshmallows. The best part? Watching them explode into a delicious mug of cocoa when we poured hot milk over them. It’s like magic in a cup! Seriously, they’re the perfect blend of fun and flavor that’ll warm you up from the inside out. Trust me, once you try making these, you’ll be hooked!
Ingredients for Hot Cocoa Bombs
- 1 cup semi-sweet chocolate chips – This will be the foundation of your cocoa bomb, creating that luscious, melt-in-your-mouth chocolate experience.
- 1/2 cup unsweetened cocoa powder – The star ingredient that brings that rich chocolate flavor to your hot cocoa.
- 1/2 cup mini marshmallows – These little puffs of sweetness are essential for that classic hot cocoa experience.
- 1/4 cup powdered sugar – To add a touch of sweetness and help balance the cocoa’s richness.
- Silicone mold – I love using silicone molds because they make it so easy to pop the chocolate out once it’s set!
How to Prepare Hot Cocoa Bombs
Alright, let’s dive into the fun part—making these delightful hot cocoa bombs! It’s easier than you might think, and I promise you’ll feel like a chocolatier by the end of it. Just follow these steps, and you’ll be sipping on your delicious creation in no time!
Step-by-Step Instructions
- Melt the chocolate: Start by melting the 1 cup of semi-sweet chocolate chips in a microwave-safe bowl. Heat in 30-second intervals, stirring in between until smooth and silky. Be careful not to overheat; it can burn quickly!
- Fill the mold: Once melted, fill half of your silicone mold with the chocolate, making sure to coat the sides well. I like to use a spoon to help spread it around evenly.
- Chill: Pop the mold into the fridge and chill for about 10 minutes, or until the chocolate is firm and set. This is where the magic begins!
- Pop them out: Carefully remove the chocolate halves from the mold. If they’re sticking, give them a gentle twist. You want those perfect little shells!
- Fill the bombs: Now, take one half and fill it with 1/2 cup of unsweetened cocoa powder, 1/2 cup of mini marshmallows, and 1/4 cup of powdered sugar. Don’t be shy—pack it in there!
- Seal it up: Grab the other half of your chocolate shell and gently press it onto the filled half. You can melt a tiny bit of chocolate and use it as glue if they aren’t sticking together well—just a dab will do!
- Let them cool: Allow your hot cocoa bombs to cool completely at room temperature. This ensures they hold their shape and are ready for action!
- Store: Once cool, store your delicious creations in an airtight container until you’re ready to enjoy them. Trust me, they won’t last long!
Why You’ll Love This Recipe
- Easy to make: Seriously, these hot cocoa bombs come together in no time! With just a few simple steps, you’ll be a pro in the kitchen!
- Customizable flavors: You can switch things up by using different types of chocolate, adding spices like cinnamon or nutmeg, or even flavored extracts like vanilla or peppermint. The sky’s the limit!
- Fun for gatherings: They’re such a hit at parties! Everyone loves watching them dissolve in hot milk, and they make for a delightful winter treat.
- Perfect for gifting: Pack them up in cute little bags or boxes for a heartfelt homemade gift. Who wouldn’t love a sweet surprise like this?
- Kid-friendly: This recipe is perfect for getting the kiddos involved! They’ll have a blast filling and sealing the bombs, plus they’ll love the end result!
- Indulgent treat: Let’s be honest, who doesn’t love a cozy mug of hot cocoa? These bombs take that classic comfort drink to a whole new level!
Tips for Success with Hot Cocoa Bombs
Alright, let’s make sure your hot cocoa bombs turn out absolutely perfect! Here are some of my tried-and-true tips that I swear by:
- Use high-quality chocolate: I can’t stress this enough! The better the chocolate, the richer and more delicious your bombs will be. Look for chocolate that has a high cocoa content for that dreamy melt.
- Don’t rush the melting: Take your time when melting the chocolate. Use short bursts in the microwave and stir well. This will help you avoid that dreaded burnt chocolate! Also, if you’re using the stove, just keep the heat low and be patient.
- Experiment with flavors: This is where the fun begins! Add a pinch of sea salt for a sweet-salty twist, or a dash of cinnamon for a warm spice kick. You could even mix in flavored extracts like peppermint or orange for a unique touch!
- Seal them properly: When you’re pressing the two halves together, make sure they’re snug. If they’re not sticking, gently melt the edges a bit more and try again. It’s key to keep all that cocoa goodness from escaping!
- Chill thoroughly: Don’t skip the chilling step! Letting the chocolate set completely ensures that your bombs hold their shape and don’t crack when you pop them out of the mold.
- Get creative with molds: While I love my classic round molds, don’t hesitate to try out different shapes! Hearts, stars, or even seasonal shapes can make your cocoa bombs even more festive and fun.
With these tips in your back pocket, you’re all set to create the most delightful hot cocoa bombs! Trust me, once you get the hang of it, you’ll be making them all winter long!
Variations of Hot Cocoa Bombs
Now, let’s get a little adventurous with your hot cocoa bombs! The great thing about this recipe is how easily you can customize it to suit your tastes or the occasion. Here are some of my favorite variations that’ll take your cocoa bombs to the next level:
- Different types of chocolate: Why stick to just semi-sweet? Try using dark chocolate for a richer flavor, or white chocolate for a sweet and creamy twist. You can even mix and match for a stunning layered effect!
- Spice it up: Add a pinch of your favorite spices! A dash of cinnamon or nutmeg can add a warm, cozy vibe to your cocoa. For a little kick, try adding cayenne pepper—trust me, it’s a surprising delight!
- Flavored extracts: This is where you can really let your creativity shine! A splash of peppermint extract for a holiday vibe, or a hint of almond extract for something a bit different. The flavors are endless!
- Fillings galore: Besides marshmallows, you can get creative with fillings. Think crushed candy canes for a festive crunch, or even peanut butter cups for a decadent surprise. You can even use flavored marshmallows for an extra burst of taste!
- Make it festive: For holidays, consider using colored chocolate to match the season. Red and green for Christmas, pastel colors for Easter—your cocoa bombs can be as festive as you want!
- Nutty additions: Toss in some finely chopped nuts or nut butter in the filling for a bit of texture and flavor. Hazelnuts with chocolate are a match made in heaven!
With these variations, you can create hot cocoa bombs that are not only fun but also uniquely yours. Get ready to impress your family and friends with these delightful twists! Happy experimenting!
Storage & Reheating Instructions
So, you’ve made a batch of those luscious hot cocoa bombs, and now you’re wondering how to keep them fresh for the next cozy evening. No worries—I’ve got you covered! Here’s how to store them properly and enjoy them at their best.
First off, make sure your cocoa bombs are completely cool before storing them. Once they’re at room temperature, place them in an airtight container. This will keep them safe from moisture and unwanted odors. I usually separate layers with parchment paper to prevent them from sticking together—trust me, it’s worth the effort!
Store your airtight container in a cool, dry place, away from direct sunlight. They’ll last for about 1-2 weeks if you can resist eating them all in one go! If you want to keep them even longer, you can pop them in the fridge, but let me tell you, the chocolate might lose a bit of its dreamy texture.
Now, when you’re ready to indulge, reheating is super simple! Just heat up a mug of milk—about 8 ounces should do it. You can use the microwave or stovetop, whichever you prefer. If you’re using the microwave, heat it in 30-second bursts until it’s steaming, but not boiling. Then, drop one of your hot cocoa bombs into the milk and watch the magic happen! Give it a little stir, and you’ll have a delicious, creamy mug of cocoa in no time.
And that’s it! With these storage and reheating tips, you’ll always be ready for a cozy treat whenever the mood strikes. Enjoy every sip!
Nutritional Information
Just a heads up, the nutritional values for these hot cocoa bombs are estimates based on typical ingredient use. Each bomb is a delightful way to indulge, and here’s what you can expect per bomb:
- Calories: 120
- Sugar: 15g
- Fat: 7g
- Saturated Fat: 4g
- Unsaturated Fat: 2g
- Trans Fat: 0g
- Carbohydrates: 16g
- Fiber: 1g
- Protein: 1g
- Cholesterol: 5mg
- Sodium: 10mg
So, you can enjoy these tasty treats without too much guilt! Perfect for a cozy night in or a special occasion, right? Just remember, these little bombs of joy are meant to be savored!
FAQ About Hot Cocoa Bombs
Got questions about these delightful hot cocoa bombs? No worries, I’m here to help! Here are some of the most common queries I get, along with my trusty answers to guide you through the process.
Can I use white chocolate instead of semi-sweet?
Absolutely! White chocolate gives a sweeter and creamier cocoa bomb. Just keep in mind that it might melt differently, so watch it closely while melting!
What can I use instead of mini marshmallows?
If marshmallows aren’t your thing, you can swap them out for chocolate-covered marshmallows, crushed cookies, or even nut butter for a gooey treat. Get creative!
How can I make these dairy-free?
Great question! Just use dairy-free chocolate chips and fill your bombs with a non-dairy milk powder or coconut milk powder. You can still enjoy all the deliciousness without the dairy!
How do I serve hot cocoa bombs?
To serve, simply heat up your milk, drop in a hot cocoa bomb, and watch the magic unfold! It’s like a little show in your mug. You can sprinkle some whipped cream or chocolate shavings on top for an extra treat!
Can I make these ahead of time?
Yes, you can! Just store them in an airtight container as mentioned before. They’re perfect for prepping in advance for those cozy nights or holiday gatherings.
What’s the best way to store leftover hot cocoa bombs?
Keep them in an airtight container in a cool, dry place. If you’re worried about them sticking together, use parchment paper between layers. They’ll stay fresh for about 1-2 weeks!
Can I freeze hot cocoa bombs?
You can definitely freeze them! Wrap each bomb tightly in plastic wrap and store in a freezer-safe container. When you’re ready to enjoy, let them thaw in the fridge before using.
What other fillings can I try?
Oh, the possibilities are endless! Think crushed peppermint candies for a festive flair, peanut butter cups for a rich twist, or even flavored marshmallows for a fun surprise!
With these FAQs, I hope you feel more confident in your hot cocoa bomb-making adventure! If you have any more questions, feel free to reach out. Happy cooking!