

Ah, the holidays! There’s truly nothing like the warmth of the season, filled with laughter, joy, and delicious treats. One of my absolute favorite things to whip up during this time is my irresistible Holiday truffles. Trust me, they’re a game changer! Each little chocolatey bite is rich, creamy, and just the right amount of indulgent. I remember the first time I made these for a family gathering; the delight on everyone’s faces as they took their first bite was priceless! It’s moments like those that make the hustle and bustle of the season so worthwhile.
What I love most about these truffles is how effortlessly simple they are to create. With just a few straightforward ingredients and minimal fuss, you can craft these delightful confections in no time. They make the perfect addition to your holiday dessert spread, whether you’re hosting a big get-together or simply brightening up a cozy night in. Plus, they’re super fun to share and impress your friends and family with your gourmet skills! So, let’s dive into making these deliciously festive treats that are sure to steal the show at any gathering!
Ingredients List
Gathering the right ingredients is key to making these luscious Holiday truffles. Each element plays a vital role in creating that dreamy, melt-in-your-mouth experience. Here’s what you’ll need:
- 8 oz dark chocolate, chopped – Choose a high-quality chocolate for the best flavor. Dark chocolate gives the truffles a rich and decadent taste that’s simply irresistible!
- 1/2 cup heavy cream – This is what makes the truffles creamy and luscious. Make sure it’s fresh for the best results.
- 1 tsp vanilla extract – A splash of vanilla adds a warm, aromatic touch. I always opt for pure vanilla extract for that extra depth of flavor.
- Cocoa powder for dusting – This not only adds a beautiful finish but also enhances the chocolate flavor. Use unsweetened cocoa powder for a nice contrast to the sweetness of the truffles.
These ingredients come together in such a delightful way, creating a symphony of textures and flavors that you’re going to love! Now, let’s get to the fun part—making these truffles!
How to Prepare Holiday Truffles
Getting these Holiday truffles ready is half the fun! I promise, once you get the hang of it, you’ll be whipping up batch after batch. Let’s break it down step by step so you can follow along easily and make these delightful treats without a hitch.
Step-by-Step Instructions
Heating the Cream
First things first, grab a saucepan and pour in your heavy cream. Heat it over medium heat until it starts to bubble around the edges but don’t let it boil—this is really important! We want the cream hot enough to melt the chocolate, but boiling can change the texture and flavor. Once you see those little bubbles, you’re good to go!
Mixing the Chocolate
Now, take that hot cream and pour it right over your chopped dark chocolate in a heatproof bowl. Make sure all the chocolate is submerged! Let it sit for about 5 minutes; this waiting time is crucial as it allows the chocolate to melt perfectly without any burning. After the wait, grab a spatula and gently stir the mixture until it’s smooth and glossy. Oh, the smell is heavenly!
Chilling the Mixture
Once your chocolate mixture is beautifully smooth, it’s time to chill it. Cover the bowl with plastic wrap and pop it in the fridge for about 2 hours. You want it to firm up enough so you can scoop it easily. If you’re not sure it’s ready, just give it a little poke—if it feels set but still a bit soft, you’re golden!
Forming the Truffles
Once the mixture is nice and firm, take it out of the fridge. Using a melon baller or a small spoon, scoop out small portions of the mixture. Now, here’s the fun part: roll them between your palms to form perfect little balls! Don’t worry if they’re not perfectly round—each one has its charm. If your hands get too warm, just pop the mixture back in the fridge for a few minutes to make it easier to handle.
Coating with Cocoa Powder
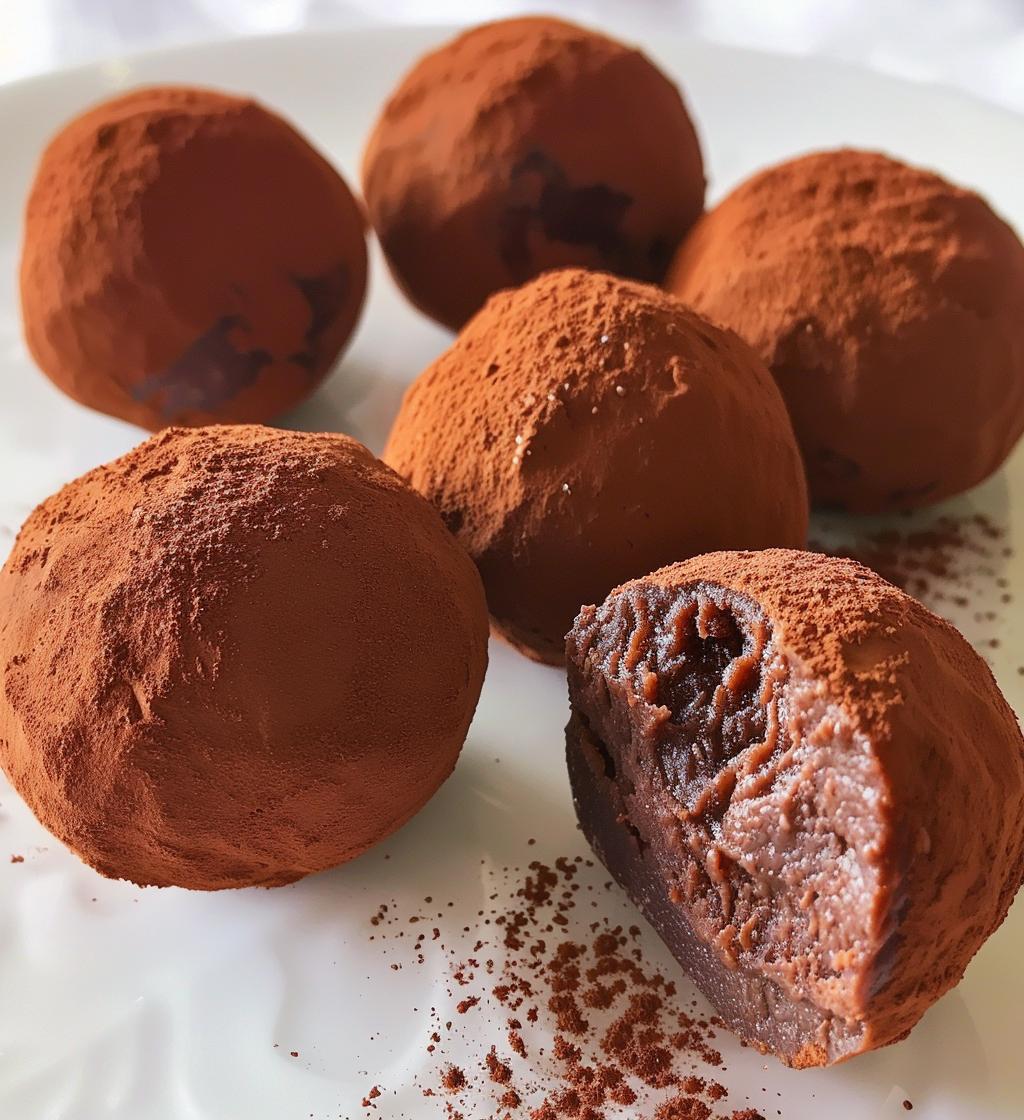
Lastly, it’s time to coat those beauties! Place some cocoa powder in a shallow dish. Roll each truffle in the cocoa powder until they’re fully coated. This adds a lovely finishing touch and enhances that rich chocolate flavor. Plus, it keeps them from sticking together! Just tap off any excess powder, and you’re all set!
And there you have it—your very own homemade Holiday truffles! I can’t wait for you to try them; they’re sure to be a hit at your next gathering!
Why You’ll Love This Recipe
Oh, where do I even start? These Holiday truffles are not just delicious; they’re a total game changer for your festive celebrations! First off, they come together in a snap—seriously, the prep time is only about 15 minutes! With just a handful of easy-to-find ingredients, you’ll be amazed at how quickly you can whip up these decadent treats.
What I absolutely adore about these truffles is their versatility. You can customize them however you like! Whether you decide to roll them in crushed nuts, sprinkle a bit of sea salt, or even dip them in white chocolate for a fun twist, the possibilities are endless. Plus, they look so elegant, you’ll feel like a master chocolatier when you present them to your friends and family!
And let’s not forget the joy they bring to any gathering. There’s something magical about watching people take their first bite and their eyes light up with delight. It’s the little moments that make the holidays special, and sharing these creamy, chocolatey bites is bound to create lasting memories. So trust me, these Holiday truffles will be the star of your dessert table, leaving everyone asking for the recipe!
Tips for Success
Now that you’re ready to make your Holiday truffles, let’s chat about some tips to ensure you achieve the best results! I’ve learned a thing or two along the way, and I want you to have the smoothest truffle-making experience possible.
- Use Quality Chocolate: Seriously, don’t skimp on the chocolate! A good quality dark chocolate will elevate your truffles to a whole new level. Look for something that has a high cocoa content for that rich, intense flavor that everyone loves.
- Mind the Cream: When heating the heavy cream, keep a watchful eye! If it boils, it can create a grainy texture in your truffles. Just let it bubble gently around the edges, and you’ll be golden.
- Customize Your Coating: While cocoa powder is classic, feel free to get creative! Consider rolling your truffles in finely chopped nuts, shredded coconut, or even crushed peppermint candies for a festive twist. You could also drizzle some melted chocolate on top for an extra touch of elegance!
- Chill Time is Key: Don’t rush the chilling process! If the mixture isn’t firm enough, it’ll be tricky to roll into balls. If you’re in a hurry, you can pop it in the freezer for a little while, but keep a close eye on it.
- Keep Your Hands Cool: If you find the chocolate mixture is getting too soft as you roll the truffles, take a quick break and wash your hands with cold water. This little trick helps keep the mixture firm and easier to handle.
- Experiment with Flavors: Want to switch things up? Try adding a splash of your favorite liqueur or a pinch of sea salt to the chocolate mixture before chilling. It’ll give your truffles a unique flavor that’s sure to impress!
- Stay Organized: Have everything measured and ready to go before you start. It makes the process smoother and more enjoyable, so you can focus on the fun part—making your delicious truffles!
These tips will help you avoid any common pitfalls and ensure your Holiday truffles turn out spectacular every time. Enjoy the process, and don’t forget to share a few with your friends—they’re going to be begging for more!
Storage & Reheating Instructions
Storing your Holiday truffles properly will ensure they stay delicious and fresh for as long as possible. After you’ve rolled and coated them, here’s how to keep them in tip-top shape:
- Keep them airtight: Place your truffles in an airtight container. This is super important to prevent them from absorbing any unwanted odors from your fridge. Trust me, you want to keep that rich chocolate flavor intact!
- Refrigerate: Store the container in the refrigerator. They can last up to two weeks, which is amazing for a treat you can whip up so quickly! Just be sure to bring them to room temperature for a few minutes before serving; it really enhances the flavor and creamy texture.
- Freeze for longer storage: If you want to enjoy your truffles even later, you can freeze them! Just layer them in a single layer on a baking sheet until firm, then transfer them to a zip-top freezer bag or an airtight container. They’ll keep well for up to two months. When you’re ready to indulge, simply thaw them overnight in the fridge.
And that’s it! With these simple storage tips, you can savor your Holiday truffles for days to come. Just remember, the longer you wait to enjoy them, the more tempting they’ll be when you finally do! Happy truffle making!
Nutritional Information
When it comes to indulging in these delightful Holiday truffles, it’s always good to know what you’re enjoying! Here’s a breakdown of the typical nutritional values per serving, based on the common ingredients used in this recipe. Keep in mind that these numbers are estimates, so they can vary depending on the specific brands and types of ingredients you choose:
- Serving Size: 1 truffle
- Calories: 100
- Fat: 7g
- Saturated Fat: 4g
- Unsaturated Fat: 2g
- Trans Fat: 0g
- Cholesterol: 5mg
- Sodium: 5mg
- Carbohydrates: 9g
- Fiber: 1g
- Sugar: 7g
- Protein: 1g
These truffles are a lovely treat to enjoy during the holidays, and I think you’ll find that they’re worth every bite! Just remember to savor each one and share the joy with others. Happy indulging!
FAQ Section
Can I use white chocolate instead of dark chocolate?
Absolutely! You can definitely use white chocolate to make your Holiday truffles. Just keep in mind that white chocolate has a sweeter flavor, so you might want to adjust the amount of cocoa powder you use for dusting if you like a bit of contrast. They’ll still be delicious and a lovely variation for those who prefer a milder taste!
How long do these truffles last?
If stored properly in an airtight container in the fridge, your Holiday truffles will last up to two weeks. They’re perfect for making ahead of time for parties or gatherings. Just be sure to let them sit at room temperature for a few minutes before serving for the best texture and flavor!
Can I make these truffles vegan?
You can definitely make a vegan version of Holiday truffles! Just swap the heavy cream for coconut cream or a dairy-free alternative, and use vegan dark chocolate. It’s a fantastic way to share the joy of chocolate with everyone, regardless of their dietary preferences!
What if my truffle mixture is too soft?
If your mixture feels too soft to roll into balls, don’t worry! Just pop it back in the fridge for a bit longer until it firms up. If you’re in a rush, you can even place it in the freezer for a few minutes, but keep a close eye on it so it doesn’t freeze too solid.
Can I add flavors to my truffles?
Oh, definitely! Feel free to get creative! You can add a splash of your favorite liqueur, a pinch of sea salt, or even some citrus zest to the chocolate mixture before chilling for a unique twist. Personalizing your Holiday truffles is part of the fun!
What other coatings can I use?
While cocoa powder is a classic, you can get super creative with coatings! Try rolling your truffles in crushed nuts, shredded coconut, or even powdered sugar. You could also drizzle them with melted chocolate for an extra decadent touch. The options are endless!