

Ah, gingerbread houses! They’re not just a holiday treat but a delightful tradition that brings families together in the kitchen. I can still remember the first time I made one with my kids; the laughter, the sticky fingers, and the sugary chaos were absolutely magical! Each year, we gather around the table, rolling out that spiced dough, and dreaming up the most whimsical designs. Trust me, there’s something incredibly special about crafting your very own gingerbread house, bringing it to life with colorful candies and icing. It’s a festive activity that inspires creativity, and nothing feels quite as rewarding as displaying your very own edible masterpiece during the holidays! 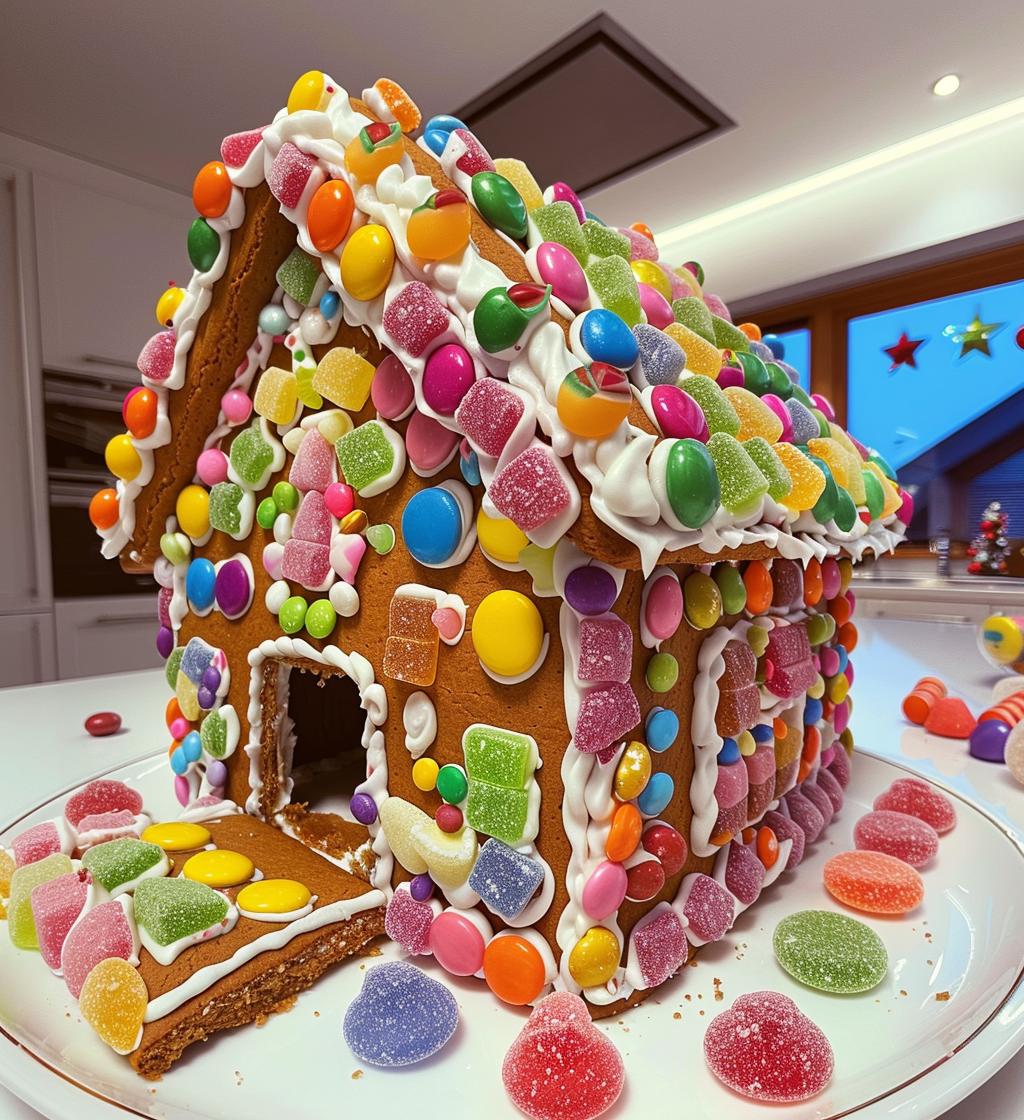
Ingredients for Gingerbread Houses
Here’s what you’ll need to whip up your very own gingerbread house. Each ingredient plays a key role in creating that perfect blend of flavor and structure!
- 2 1/2 cups all-purpose flour: This is the foundation of your gingerbread, giving it the right texture.
- 1 teaspoon baking soda: This helps the gingerbread rise a bit and gives it that nice, sturdy shape.
- 1 tablespoon ground ginger: The star of the show! It adds that warm, spicy flavor we all adore.
- 1 tablespoon ground cinnamon: This brings a cozy aroma that will make your kitchen smell like the holidays.
- 1/2 teaspoon ground cloves: Just a pinch of clove enhances the depth of flavor in your dough.
- 1/2 teaspoon salt: Balances out the sweetness and enhances all the flavors.
- 3/4 cup unsalted butter, softened: This adds richness and helps create that lovely, chewy texture.
- 1 cup brown sugar: For that deep, caramel-like sweetness that pairs so perfectly with the spices.
- 1 large egg: Acts as a binder, helping everything stick together nicely.
- 1/2 cup molasses: This is what gives gingerbread its signature dark color and rich flavor.
- 2 cups powdered sugar (for icing): Essential for making that sweet, gluey icing that holds your house together.
- Assorted candies (for decoration): Get creative! Use your favorite candies to add personality and flair to your gingerbread masterpiece.
How to Prepare Gingerbread Houses
Now that you’ve got all your ingredients ready, it’s time to bring that gingerbread house to life! Follow these steps, and trust me, the process is just as fun as the final result. Let’s dive in!
Step 1: Preheat and Mix Dry Ingredients
First things first, preheat your oven to 350°F (175°C). This is super important! While that’s warming up, grab a mixing bowl and combine the flour, baking soda, ginger, cinnamon, cloves, and salt. I like to whisk them together until it’s all well mixed. This not only helps distribute the spices evenly but also aerates the flour. Set this bowl aside for now; we’ll come back to it soon!
Step 2: Cream Butter and Sugar
In a separate bowl, it’s time to cream the butter and brown sugar. I use my hand mixer on medium speed for about 2-3 minutes until it’s light and fluffy. You want it to be creamy and pale in color—this step is crucial for that soft texture! If you don’t have a mixer, no worries! Just use a wooden spoon and a little elbow grease. Once it’s looking good, add in the egg and molasses, mixing until everything is well combined.
Step 3: Combine Wet and Dry Ingredients
Now for the fun part! Gradually add the dry ingredients to the wet mixture, stirring gently. I like to do this in three parts, mixing just until everything is combined. Don’t worry if the dough looks a little crumbly at first—it will come together beautifully as you mix. The goal is a nice, soft dough that you can roll out; it should be slightly sticky but not too wet.
Step 4: Roll and Cut Dough
Once your dough is mixed, it’s rolling time! Lightly flour your work surface and roll out the dough to about 1/4 inch thick. This thickness is perfect for sturdy gingerbread pieces. Now, use your templates to cut out the shapes for your house: walls, roof pieces, and whatever else you want to add! Place the cutouts carefully on a baking sheet lined with parchment paper.
Step 5: Bake the Gingerbread Pieces
Pop those trays into the preheated oven and bake for 10-12 minutes, or until the edges are firm but not overly brown. Oh, the smell of gingerbread baking is just heavenly! Once they’re done, remove them from the oven, and let them cool completely on a wire rack. This is super important, so don’t rush it—cool pieces are easier to handle and assemble!
Step 6: Assemble and Decorate
Now comes the part where your gingerbread house really comes to life! Use your powdered sugar icing to assemble the walls first, holding them in place for a few seconds until they firm up. Once the structure is stable, let your creativity shine! Decorate with your assorted candies, using more icing as “glue” to stick them on. I love adding little gumdrops and sprinkles for that festive flair! Don’t be shy—make it as whimsical as you like!
Why You’ll Love This Recipe
- Creative Outlet: Making gingerbread houses is a fantastic way to express your creativity! You can design them however you like—traditional, whimsical, or even themed!
- Family Bonding: It’s a perfect activity for the whole family. Everyone can pitch in, from rolling dough to decorating with candies. It’s all about making memories together!
- Festive Spirit: The smell of gingerbread baking fills your home with the warm essence of the holidays, instantly putting everyone in a festive mood.
- Endless Customization: You can use any candies or decorations you love. The possibilities are truly endless, which makes each house unique!
- Tradition: Building gingerbread houses can become a cherished holiday tradition. Trust me, once you start, you’ll want to make it a yearly event!
- Great for Gifting: These charming creations make delightful gifts or centerpieces during holiday gatherings, spreading joy and sweetness wherever they go!
Tips for Success
Alright, let’s talk about some pro tips that’ll take your gingerbread house from good to absolutely spectacular! Trust me, a little extra attention can make all the difference. Here’s what I’ve learned over the years:
- Icing Consistency: For the best results, your icing should be thick enough to hold the pieces together but still pipeable. I like to aim for a consistency similar to toothpaste. If it’s too runny, it won’t hold your house up, and if it’s too stiff, it’ll be a struggle to work with. You can always adjust by adding more powdered sugar or a splash of water!
- Chill the Dough: If you find your dough is getting too warm while you’re working with it, pop it in the fridge for about 15 minutes. This will make it easier to roll out and cut without losing shape.
- Sturdy Base: Make sure to build your gingerbread house on a sturdy base, like a cutting board or a piece of cardboard covered in foil. This not only makes it easier to move around but also keeps it stable as you add all those delightful decorations.
- Don’t Rush the Assembly: Take your time when assembling the house. Hold each piece for a few seconds to ensure it sticks properly before moving on to the next. Patience pays off here!
- Get Creative with Decorations: Use a variety of candies for different textures and colors! Think gumdrops, chocolate bars, licorice, and even shredded coconut for “snow.” Let your imagination run wild—there’s no right or wrong way to decorate!
- Practice Piping: If you’re new to piping icing, practice on a piece of parchment paper first. It helps you get a feel for the flow and pressure you need to create beautiful designs!
- Keep it Cool: Once your gingerbread house is assembled and decorated, store it in a cool, dry place. This will keep the icing from melting and your candies from getting too soft!
With these tips in your back pocket, you’re well on your way to creating a gingerbread house that’s not only beautiful but also stands the test of time (at least until it’s all eaten!). Enjoy every moment of this sweet, festive tradition!
Storage & Reheating Instructions
Once you’ve created your festive gingerbread house, you’ll want to make sure it stays fresh and fabulous for as long as possible! Here’s how to store it properly and keep it looking (and tasting) its best:
- Cool, Dry Place: Store your assembled gingerbread house in a cool, dry area. A countertop or table away from direct sunlight is perfect. This helps prevent the icing from melting and the candies from getting sticky!
- Avoid Humidity: If you live in a humid climate, it’s especially important to keep your gingerbread house in a low-humidity environment. Humidity can cause the icing to lose its structure and make the candies soggy.
- Cover It Up: If you want to protect your masterpiece from dust or curious hands, lightly cover it with a clean kitchen towel or place it in a cardboard box. Just be careful not to let anything touch the icing or decorations!
- Display with Care: If you’re using it as a centerpiece, just be mindful of where you place it. Ensure it’s in a spot that’s not too crowded, so it doesn’t get bumped or knocked over.
- Consume Within a Week: For the best taste and texture, try to enjoy your gingerbread house within one week of making it. After that, the gingerbread can start to lose its crispness, and the decorations may not look as fresh.
As for reheating, there’s really no need for that with gingerbread houses! They’re best enjoyed as they are, so dig in and savor the sweet memories you’ve created. Happy decorating and munching!
Nutritional Information
Now, let’s chat about the nutritional side of our delightful gingerbread houses! For those who like to keep track of what they’re munching on, here’s a general idea of the nutritional values per serving (which is about 1/12 of the house). Remember, these values can vary based on the specific ingredients and brands you use, so take them as a ballpark figure:
- Calories: 250
- Sugar: 20g
- Sodium: 100mg
- Fat: 10g
- Saturated Fat: 6g
- Unsaturated Fat: 4g
- Trans Fat: 0g
- Carbohydrates: 38g
- Fiber: 1g
- Protein: 2g
- Cholesterol: 30mg
If you’re looking for specific nutritional values based on different ingredients or brands, I recommend using a nutrition calculator or app to get a tailored view. It’s always good to be aware of what you’re enjoying, especially during the holidays when treats are everywhere! Happy baking and savoring!
FAQ About Gingerbread Houses
Got questions about making gingerbread houses? Don’t worry, I’ve got you covered! Here are some of the most common queries I hear, along with my best tips and tricks to help you through the process:
Can I make gingerbread houses ahead of time?
Absolutely! You can bake the gingerbread pieces up to a week in advance. Just make sure to store them in an airtight container once they’re completely cool to keep them fresh. This gives you more time to decorate and assemble without the last-minute rush!
What should I do if my gingerbread dough is too sticky?
If your dough is feeling a bit sticky, don’t panic! Just sprinkle a little more flour on your work surface and on the dough itself while rolling it out. If it’s really too sticky, you can also chill it in the fridge for about 15-30 minutes to make it easier to handle!
Can I use store-bought gingerbread for my house?
Sure thing! If you’re short on time or just want to simplify things, you can absolutely use store-bought gingerbread kits. Just remember that part of the fun is in the creation, so if you can, give making it from scratch a try at least once!
How do I ensure my gingerbread house doesn’t collapse?
Great question! The key is all in the icing. Use a thicker icing for assembly—think of it as the glue that holds everything together. Also, let each piece set for a few seconds before adding the next. And don’t rush the cooling process; fully cooled pieces are much sturdier!
What’s the best way to decorate my gingerbread house?
Get creative! Use a variety of candies for different textures and colors. I love using gumdrops, chocolate bars, and even pretzels for unique roofs. Don’t forget about sprinkles and edible glitter for that festive sparkle! And remember, there’s no wrong way to decorate—let your imagination run wild!
With these tips in mind, you’ll be well on your way to crafting the most delightful gingerbread house of the season. Happy baking and building!