

Oh my goodness, making homemade Christmas marshmallows is one of my absolute favorite holiday traditions! There’s something so magical about whipping up these fluffy, sweet bites of joy right in your own kitchen. Trust me, once you try this easy recipe, you’ll never want to go back to store-bought marshmallows. The best part? They’re not just delicious—they’re super simple to make! You’ll be amazed at how quickly you can transform a few basic ingredients into a delightful treat that’s perfect for hot cocoa, s’mores, or just snacking on straight from the pan. Plus, the joy of sharing these fluffy wonders with family and friends is just the cherry on top of a sweet holiday season. So let’s get started and make some scrumptious Christmas marshmallows together!
Ingredients List
- 1 cup granulated sugar
- 1/2 cup corn syrup
- 1/4 cup water
- 1 tablespoon gelatin
- 1/2 cup powdered sugar
- 1 teaspoon vanilla extract
- 1/4 teaspoon salt
How to Prepare Christmas Marshmallows
Step-by-Step Instructions
Combine Sugar Ingredients
First things first, grab a saucepan and combine your 1 cup of granulated sugar, 1/2 cup of corn syrup, and 1/4 cup of water. Now, heat this mixture over medium heat, stirring gently until the sugar dissolves, which should take about 5-7 minutes. You’ll know it’s ready when it’s all smooth and bubbly—just be careful not to let it boil too hard!
Prepare the Gelatin
While your sugar mixture is warming up, let’s get that gelatin blooming! In a bowl, mix 1 tablespoon of gelatin with 1/4 cup of cold water. Give it a little stir and let it sit for about 5 minutes. This step is super important because it helps your marshmallows achieve that fluffy texture we’re after!
Combine Mixtures
Once the gelatin has bloomed, it’s time to combine the magic! Carefully pour the hot sugar mixture into the bowl with your bloomed gelatin. Whisk it all together until everything is completely dissolved. It should look silky smooth—this is where the excitement really starts to build!
Add Flavor
Next up, add in 1 teaspoon of vanilla extract and 1/4 teaspoon of salt. Mix well to ensure the flavors are evenly distributed. The aroma that fills your kitchen at this point is just heavenly!
Set the Mixture
Now it’s time to pour this dreamy mixture into a greased pan. Make sure to spread it out evenly. Cover it lightly and let it set for about 4 hours. This will allow it to firm up and develop that perfect marshmallow texture we all love!
Cut and Dust
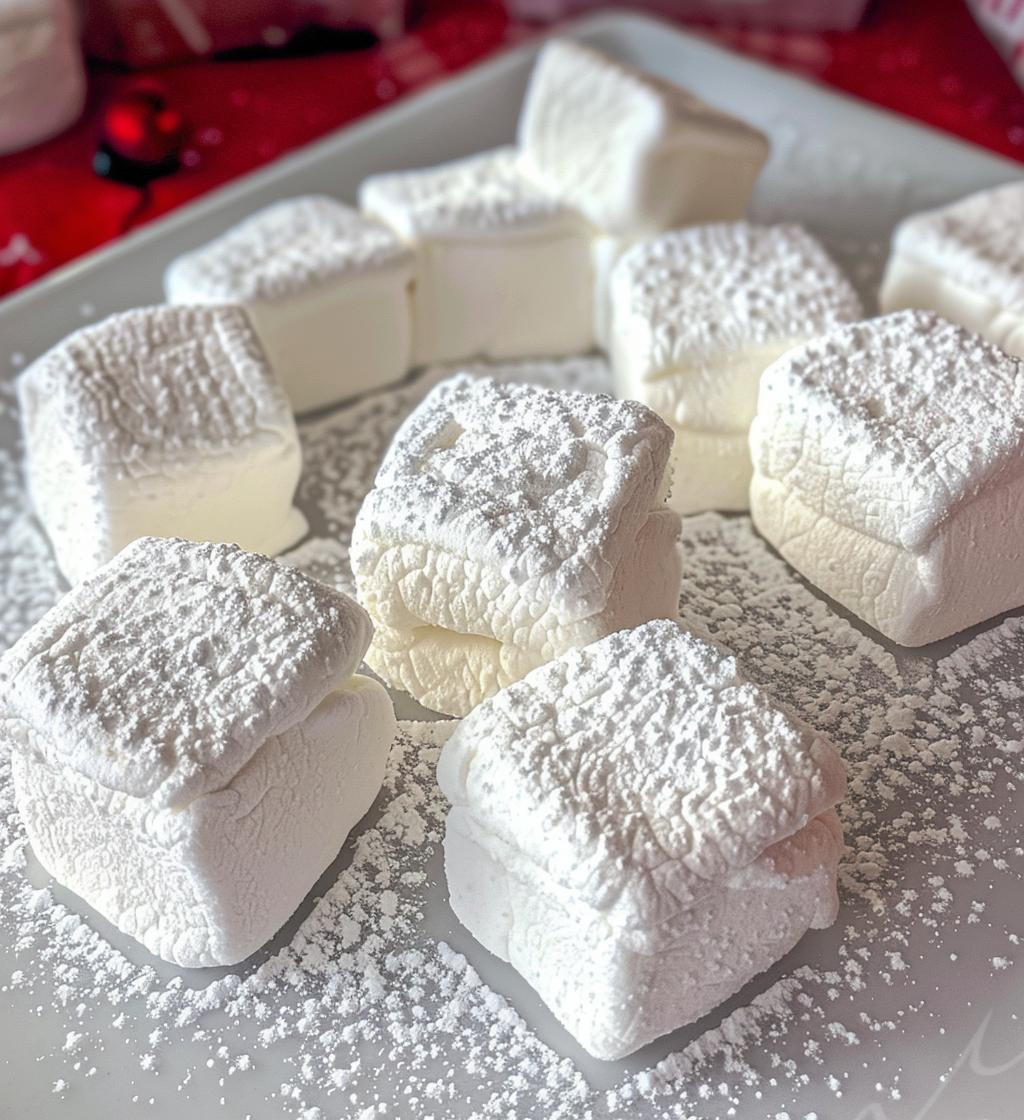
Once they’re set, it’s time for the fun part! Dust your work surface with powdered sugar, then turn the marshmallow slab out onto it. Dust the top as well to prevent sticking. Cut into squares—don’t worry about being perfect; rustic is charming! And there you have it, your very own homemade Christmas marshmallows, all ready to enjoy!
Tips for Success
Alright, my fellow marshmallow makers, here are some pro tips to ensure your Christmas marshmallows turn out perfectly every time! First, make sure you let the gelatin bloom properly. Don’t rush this step; it’s crucial for that fluffy texture we’re all after! If you’re feeling adventurous, try adding a splash of peppermint extract along with the vanilla for a festive twist.
When it comes to storage, keep your marshmallows in an airtight container to maintain their softness—trust me, no one wants rock-hard marshmallows! If you live in a humid environment, consider dusting them generously with powdered sugar to help absorb moisture. And if you have leftovers (which is a big if!), they’ll last about a week—if they even make it that long! Enjoy your marshmallow magic!
Nutritional Information
Now, let’s talk numbers! Each of these delightful homemade Christmas marshmallows packs in about 30 calories, which is pretty reasonable for such a sweet treat. You’ll also find around 6 grams of sugar and just 10 milligrams of sodium per marshmallow. They’re fat-free, so you can indulge a little without too much guilt! Of course, these values are estimates, but they give you a good idea of what you’re enjoying. Just remember, these marshmallows are all about the fun and flavor, so enjoy them to the fullest!
Variations on Christmas Marshmallows
Now that you’ve mastered the basic Christmas marshmallows, let’s get creative! One of my favorite variations is to add a splash of peppermint extract to the mixture along with the vanilla. It totally gives that classic holiday vibe and pairs perfectly with hot cocoa! If you’re feeling extra festive, why not incorporate some food coloring? Just a few drops can transform your marshmallows into vibrant red, green, or even swirled colors that look adorable on a dessert table.
Another fun idea is to mix in some crushed candy canes right before you pour the mixture into the pan. It adds a delightful crunch and a burst of minty flavor! You could also try different extracts like almond or hazelnut for unique twists. The possibilities are endless, so let your imagination run wild and customize these marshmallows to fit your holiday spirit!
FAQ Section
Can I use a different type of sweetener?
Absolutely! While I love the classic taste of granulated sugar, you can experiment with alternatives like honey or agave syrup. Just keep in mind that it may alter the texture a bit, so be prepared for some tweaking!
How do I prevent my marshmallows from sticking together?
The key to preventing sticky marshmallows is to dust them well with powdered sugar after cutting. Make sure to coat both the sides and the surface they’re resting on. If they’re still sticky, store them with a little extra sugar between layers.
Can I make these marshmallows vegan?
Yes! You can substitute the gelatin with agar-agar, which is a plant-based alternative. Just follow the package instructions for blooming and adjusting the quantities, and you’ll have delicious vegan marshmallows!
How long do homemade Christmas marshmallows last?
When stored in an airtight container, these marshmallows can last up to a week. However, they’re so delicious that I’d be surprised if they last that long around your family and friends!
What’s the best way to enjoy homemade marshmallows?
These delightful Christmas marshmallows are fantastic on their own, but they really shine when added to hot cocoa, s’mores, or even as a topping on desserts. Trust me, they elevate everything they touch!
Storage & Reheating Instructions
To keep your homemade Christmas marshmallows fresh and fluffy, store them in an airtight container at room temperature. This will help maintain their delightful texture and prevent them from getting hard. If you live in a humid area, don’t forget to dust them with a little extra powdered sugar before storing to combat moisture!
Now, if you happen to have any leftovers (which I highly doubt since they’re so addictive!), they can last about a week. Just remember, they’re best enjoyed fresh! As for reheating, there’s really no need to. These marshmallows are perfect as they are, but if you want to warm them up a bit, pop them in the microwave for just a few seconds. Be careful not to overdo it, or they’ll turn into a gooey mess. Enjoy your marshmallow magic!