

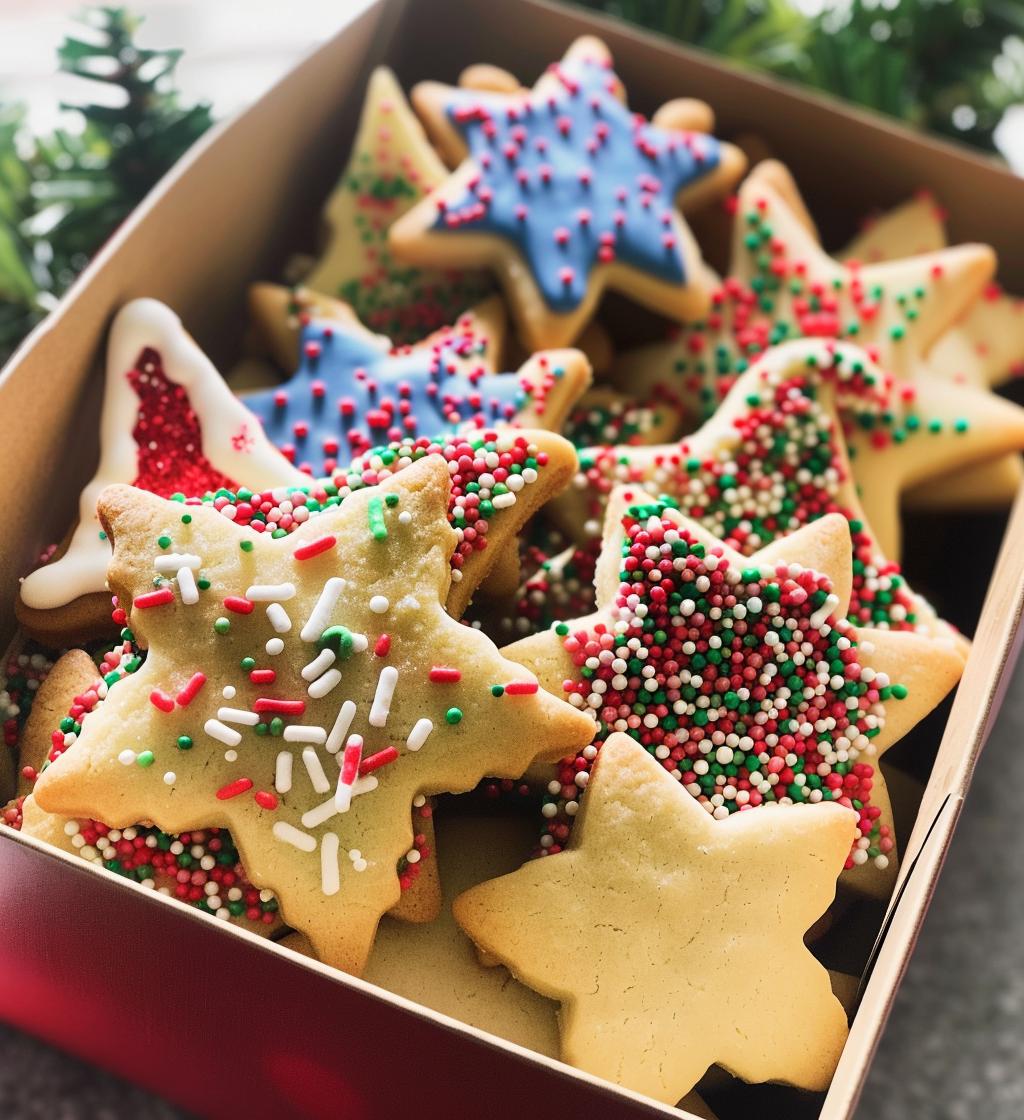
There’s just something magical about the holiday season, isn’t there? I absolutely adore making a festive collection of Christmas cookies each year! It’s become a cherished tradition in my home. The aroma of baking cookies fills the air, bringing everyone together—whether we’re decorating them with sprinkles or simply enjoying the sweet treats fresh from the oven. Plus, it’s such a fun way to spread joy and share deliciousness with friends and neighbors. Trust me, when you put together your very own Christmas cookie box, you’re not just giving cookies; you’re sharing love, warmth, and holiday cheer!
Ingredients List
Gathering your ingredients is like gathering the magic for this delightful Christmas cookie box! Here’s what you’ll need:
- 2 cups all-purpose flour
- 1 cup unsalted butter, softened to room temperature
- 1 cup granulated sugar
- 1/2 cup powdered sugar
- 1 large egg
- 1 tsp vanilla extract
- 1/2 tsp baking powder
- 1/4 tsp salt
- Decorative sprinkles for that festive touch
Make sure your butter is nice and soft; it really helps in creating that perfect cookie dough! And don’t forget the sprinkles—they’re the finishing touch that brings the holiday spirit to life!
How to Prepare Instructions
Now let’s get down to the fun part—baking these delightful cookies! Follow these simple steps, and you’ll have a beautiful Christmas cookie box ready in no time:
- First things first, preheat your oven to 350°F (175°C). This ensures your cookies bake evenly and come out perfectly golden!
- In a large mixing bowl, cream together the softened butter, granulated sugar, and powdered sugar. I like to use a hand mixer for this step, but a good old wooden spoon works too—just put some muscle into it!
- Once it’s all fluffy and creamy, add in the egg and vanilla extract. Mix until everything is well combined; you want to see that rich, buttery goodness!
- In another bowl, whisk together the all-purpose flour, baking powder, and salt. This helps to evenly distribute the dry ingredients and avoid any clumps in your dough.
- Gradually add the dry mixture to the wet mixture, stirring gently until a dough forms. Don’t overmix; just blend until you can see no dry flour left!
- Time to get a little hands-on! Roll out the dough on a floured surface to about 1/4-inch thickness. Use cookie cutters to cut out your favorite shapes—stars, trees, or even candy canes!
- Place your cookie shapes on a baking sheet lined with parchment paper. Make sure to leave some space between each cookie; they’ll spread a bit while baking.
- Now for the fun part—sprinkle those decorative sprinkles on top! Go wild with colors; the more festive, the better!
- Bake in your preheated oven for 10-12 minutes or until the edges are lightly golden. Keep an eye on them; every oven is a little different!
- Once baked, remove the cookies from the oven and let them cool on the baking sheet for a few minutes before transferring them to a wire rack. This helps them set perfectly.
And there you have it! Once they’re cooled, you can place them beautifully in your Christmas cookie box. Get ready to spread some holiday cheer!
Why You’ll Love This Recipe
Oh, where do I even begin? Making a Christmas cookie box is not just about baking; it’s about creating memories! Here are a few reasons why this recipe is a total winner:
- Fun activity for families: Gather the kids, and make it a festive baking day! Rolling dough, cutting shapes, and decorating cookies together is bound to bring out those giggles and smiles.
- Perfect for sharing with friends and neighbors: There’s nothing like the joy of gifting a beautifully packaged cookie box. It’s a simple yet heartfelt way to spread holiday cheer to those you love!
- Customizable flavors and shapes: Feel free to get creative! Whether you want to stick to classic shapes or try out new flavors, the possibilities are endless. You can even theme your box with seasonal colors or flavors!
Trust me, once you dive into this cookie-making adventure, you’ll see just how special and memorable it can be! 🎄
Tips for Success
Now that you’re all set to bake your Christmas cookie box, let me share some of my favorite tips to ensure you achieve cookie perfection! These little nuggets of wisdom will help you navigate the process smoothly and make your cookies even more delightful:
- Chill the dough: If your dough feels too soft or sticky while rolling, pop it in the fridge for about 30 minutes. Chilling makes it easier to handle and helps those shapes hold up while baking!
- Flour your surface: When rolling out the dough, don’t skimp on flour! It prevents sticking and makes cutting the shapes so much easier. Just be careful not to add too much flour to the dough itself, as it can make the cookies tough.
- Use sharp cookie cutters: A sharp cookie cutter will give you clean edges, which means your cookies will look fantastic! If you find that the dough sticks to the cutter, dip it in a little flour before pressing down.
- Decorate after baking: While it’s tempting to slather on the icing or sprinkles before baking, I recommend waiting until the cookies have cooled. This way, your decorations stay vibrant and don’t melt away in the oven!
- Experiment with textures: Try using a mix of sprinkles, colored sugar, or even chopped nuts to give your cookies an extra flair. Different textures can make your cookie box visually stunning!
With these tips in your back pocket, you’ll be well on your way to baking a Christmas cookie box that’s not just tasty but also a feast for the eyes. Enjoy the process, and let your creativity shine!
Variations
Now that you’ve got the basics down, let’s have some fun with variations! The beauty of a Christmas cookie box is that it can be as unique as you are. Here are some delightful ideas to switch things up and keep your cookie game exciting:
- Shape it up: Instead of just stars and trees, try using seasonal cookie cutters like snowflakes, gingerbread men, or even festive ornaments! You could also go for fun sizes, like mini cookies for a bite-sized treat!
- Flavor swaps: Add a twist to your dough by mixing in different extracts like almond or peppermint. You can even fold in ingredients like chocolate chips, dried cranberries, or chopped nuts for added flavor and texture.
- Decorate with flair: Get creative with your decorations! Use royal icing to pipe intricate designs or create colorful patterns. You can even dip half the cookies in melted chocolate and sprinkle with crushed candy canes for a holiday-inspired treat!
- Festive color themes: Choose a color palette for your cookie box. Think red and green for a classic Christmas look, or go for gold and silver for a more elegant feel. Use colored sprinkles, icing, or edible glitter to match your theme!
- Holiday spices: Mix in some holiday spices like cinnamon, nutmeg, or ginger to give your cookies that festive warmth. It’s like wrapping your treats in the cozy scents of the season!
With these variations, your Christmas cookie box will never be boring! Feel free to mix and match ideas, and let your creativity run wild. Each year can bring a new tradition, and who knows, you might just create a signature cookie that becomes a family favorite!
Nutritional Information Section
As you dive into this delightful Christmas cookie box, it’s always good to know what you’re indulging in! Here’s the estimated nutritional information per cookie, based on the recipe yields:
- Calories: 150
- Fat: 8g
- Saturated Fat: 5g
- Trans Fat: 0g
- Cholesterol: 20mg
- Sodium: 50mg
- Carbohydrates: 18g
- Fiber: 0g
- Sugar: 10g
- Protein: 2g
Keep in mind that these values are estimates and can vary based on the specific ingredients you use and the size of your cookies. So, while you’re enjoying these festive treats, just remember to savor each bite and spread that holiday cheer! 🎉
Storage & Reheating Instructions
Now that you’ve baked up a storm with your Christmas cookie box, let’s talk about how to keep those delicious cookies fresh and tasty! Proper storage is key to enjoying these festive treats long after they’re out of the oven.
First off, once your cookies have completely cooled, I recommend placing them in an airtight container. This helps lock in all that yummy moisture and flavor. You can layer the cookies with parchment paper in between to prevent them from sticking together, especially if you’ve got some that are a bit more delicate or iced.
Store them at room temperature for up to a week, but let’s be real—there’s a good chance they won’t last that long! If you’re looking to keep them for longer, you can freeze them. Just wrap each cookie tightly in plastic wrap and then place them in a freezer-safe bag or container. They’ll stay delightful for up to three months!
When you’re ready to indulge again, simply take out the desired number of cookies and let them thaw at room temperature for about 30 minutes. No need to worry about reheating, as these cookies are delightful served at room temperature! If you’d like them a little warm, pop them in the microwave for about 10-15 seconds. Just be careful not to overdo it, or you might end up with a cookie that’s more like a hockey puck!
And there you have it! With these storage tips, your Christmas cookie box will remain a cherished treat throughout the holiday season. Enjoy every last scrumptious bite!
FAQ Section
Can I use different types of flour for my Christmas cookie box?
Absolutely! While all-purpose flour is my go-to, you can experiment with alternatives like whole wheat flour for a nuttier flavor or gluten-free flour blends if you’re catering to dietary restrictions. Just keep in mind that this may change the texture slightly.
How can I make my cookies more festive?
Great question! You can amp up the festive vibes by using colorful sprinkles, icing, or edible glitter for decoration. You might also consider adding flavored extracts like peppermint or almond to give your cookies a unique twist that fits the holiday spirit!
What’s the best way to package my Christmas cookie box?
I love using decorative boxes or tins! You can line them with festive tissue paper or parchment to give it a cozy feel. Layer the cookies carefully, placing parchment in between to keep them from sticking and to maintain that lovely presentation. A personal touch, like a handwritten note, adds a sweet sentiment!
How long will my Christmas cookies stay fresh?
If stored properly in an airtight container, your cookies can stay fresh for about a week at room temperature. If you want to keep them longer, freezing is a fantastic option! Just wrap them well to preserve their flavor and texture.
Can I make the dough ahead of time?
Definitely! You can prepare the dough in advance and chill it in the fridge for up to three days. When you’re ready to bake, simply roll it out and cut your favorite shapes. This makes it even easier to whip up your Christmas cookie box when the holiday rush kicks in!