

Oh my goodness, let me tell you about this Christmas cheesecake! It’s rich, creamy, and just absolutely divine—perfect for those festive gatherings that we all look forward to. When I whip this up, I can already imagine the smiles on everyone’s faces as they take that first bite. Seriously, there’s something about a homemade cheesecake that just makes holiday celebrations feel extra special, right? It’s not just a dessert; it’s a centerpiece, a conversation starter, and a sweet hug all rolled into one delicious slice!
Now, I know what you might be thinking: “Cheesecake sounds complicated!” But trust me, it doesn’t have to be! This recipe is straightforward, and I’ll walk you through every step. What I love the most is how the creamy texture pairs so beautifully with the warm spices of cinnamon and nutmeg—talk about holiday magic! So, gather your ingredients, and let’s make a cheesecake that will steal the show this Christmas!
Ingredients for Christmas Cheesecake
Alright, let’s get down to the good stuff—the ingredients for this amazing Christmas cheesecake! You’ll want to make sure you have everything ready before you start, so here’s the full list with measurements. Trust me, it makes the process so much smoother!
- 2 cups graham cracker crumbs
- 1/2 cup unsalted butter, melted
- 3 (8 ounce) packages cream cheese, softened (make sure it’s nice and creamy!)
- 1 cup granulated sugar
- 1 teaspoon vanilla extract
- 3 large eggs
- 1 cup sour cream
- 1/4 cup all-purpose flour
- 1 teaspoon ground cinnamon
- 1/2 teaspoon nutmeg
- 1/4 cup chopped pecans (optional, but they add a lovely crunch!)
And there you have it! Gather these ingredients and let’s get ready to whip up some holiday magic. You’ll be so glad you did!
How to Prepare Christmas Cheesecake
Now, let’s dive into the fun part—making this glorious Christmas cheesecake! I promise it’s easier than you think. Just follow along with these steps, and you’ll have a show-stopping dessert that everyone will be raving about!
Preparing the Crust
First things first, we need to get that delicious graham cracker crust ready. It’s super simple! Start by preheating your oven to 325°F (165°C). While that’s heating up, grab a bowl and mix together the graham cracker crumbs and melted butter. You want everything to be well-combined, so it’s like a sandy mixture that sticks together.
Next, take a 9-inch springform pan and press that mixture firmly into the bottom. I like to use the bottom of a measuring cup to really pack it in there—this helps create a sturdy base for our cheesecake. Once that’s done, pop it into the oven for about 10 minutes to set. Trust me, this little step makes all the difference!
Making the Cheesecake Filling
While the crust is baking, let’s whip up that creamy filling! In a large mixing bowl, beat the softened cream cheese and granulated sugar together until it’s smooth and free of lumps. Seriously, this is where the magic begins! Make sure the cream cheese is at room temperature; otherwise, you might end up with a lumpy filling, and we don’t want that.
Once it’s nice and creamy, add the vanilla extract and mix that in. Now, here’s the key: add the eggs one at a time. This step is super important because it helps keep the filling light and fluffy. After you add each egg, mix just until combined—no need to overdo it! Finally, stir in the sour cream, flour, cinnamon, and nutmeg until everything is well-blended. Oh, the smell is already heavenly!
Baking and Cooling
Now that our filling is ready, it’s time to pour it over that lovely crust! Carefully pour the cheesecake mixture into the springform pan, spreading it evenly. Then, slide it into the oven and bake for 55-60 minutes. You’ll know it’s done when the edges are set, but the center still has a slight jiggle. No worries—it will firm up as it cools!
Once it’s baked to perfection, take it out of the oven and let it cool in the pan for about an hour. After that, pop it into the refrigerator for at least 4 hours, or even overnight if you can wait! This chilling time is crucial to getting that creamy texture we all love. Just imagine the anticipation as it sets in the fridge—totally worth it!
Tips for Success
Alright, friends, let’s talk about some golden tips that’ll help you create the perfect Christmas cheesecake! These little nuggets of wisdom can make a world of difference, so take notes!
- Room Temperature Ingredients: Make sure your cream cheese, eggs, and sour cream are at room temperature before you start mixing. This helps everything blend together smoothly and prevents lumps. Trust me, a smooth batter is key to a creamy cheesecake!
- Don’t Overmix: When you’re mixing in the eggs, do it one at a time and just mix until combined. Overmixing can introduce too much air into the batter, which may cause cracks while baking. We want a lovely smooth surface, not a lumpy one!
- Water Bath (Optional): If you want to be extra cautious, consider using a water bath. Just wrap the outside of your springform pan in aluminum foil and place it in a larger pan filled with hot water. This helps create a gentle, moist heat that can prevent cracking.
- Baking Time Variations: Every oven is a little different, so keep an eye on your cheesecake as it bakes. If your oven runs hot, it might be done a bit earlier. The edges should look set while the center has a slight jiggle when you gently shake the pan.
- Cooling Gradually: After baking, let it cool slowly in the pan for about an hour before refrigerating. This gradual cooling helps prevent cracks from forming due to sudden temperature changes.
- Chill Time is Essential: I can’t stress this enough—give your cheesecake enough time to chill! Four hours is the minimum, but overnight is even better. The flavors meld beautifully, and the texture becomes that dreamy creaminess we all crave.
With these tips in hand, you’ll be well on your way to crafting a cheesecake that not only looks stunning but tastes incredible too! Happy baking, and I can’t wait for you to try this out!
Variations on Christmas Cheesecake
Let’s get creative with this Christmas cheesecake! One of the best parts about making cheesecake is how easily you can switch things up to match your taste or the festive vibe. Here are some of my favorite variations that will make your holiday dessert feel fresh and exciting!
- Chocolate Peppermint: For a minty twist, add ½ cup of melted chocolate to the filling and a teaspoon of peppermint extract. Top with crushed candy canes for that extra festive flair!
- Eggnog Cheesecake: Replace the sour cream with eggnog and add a pinch of nutmeg and cinnamon to the filling. It’s like the holiday drink but in cheesecake form—how fun is that?
- Caramel Pecan: Drizzle caramel sauce over the top before serving and sprinkle with toasted pecans. This adds a rich, nutty flavor that’s perfect for the season!
- Fruit Swirl: Create a beautiful fruit swirl by gently folding in a fruit puree (like cranberry or raspberry) into the filling just before pouring it into the crust. It’ll not only taste amazing but will look stunning too!
- Gingerbread Crust: Swap out the graham cracker crust for a gingerbread cookie crust for a spiced kick. Just crush up some gingerbread cookies and mix with melted butter—it’s a game changer!
- Maple Pecan: Incorporate maple syrup into the filling for a sweet, earthy flavor. Top with candied pecans to add texture and that delightful crunch.
Feel free to mix and match these ideas! The holidays are all about creativity and fun in the kitchen, so let your imagination run wild. No matter how you choose to jazz up your cheesecake, I promise it’ll be a hit at your holiday table!
Nutritional Information
Now, I know you’re probably wondering about the nutritional details of this scrumptious Christmas cheesecake. Here’s a quick rundown of what you can expect per slice—just keep in mind that these values are estimates, so they might vary a bit depending on exact ingredients and serving sizes!
- Calories: 350
- Fat: 25g
- Saturated Fat: 15g
- Unsaturated Fat: 5g
- Trans Fat: 0g
- Cholesterol: 95mg
- Sodium: 200mg
- Carbohydrates: 30g
- Fiber: 1g
- Sugar: 25g
- Protein: 5g
With these values in mind, you can enjoy your cheesecake without any guilt—after all, it’s the holidays! Just remember, moderation is key, and sharing is caring, especially when it comes to such a delightful dessert. Happy indulging!
Serving Suggestions
Okay, friends, let’s talk about how to take your Christmas cheesecake experience to the next level! While this cheesecake is absolutely delightful on its own, pairing it with a few extras can really elevate your dessert game. Here are some scrumptious ideas that will have everyone raving!
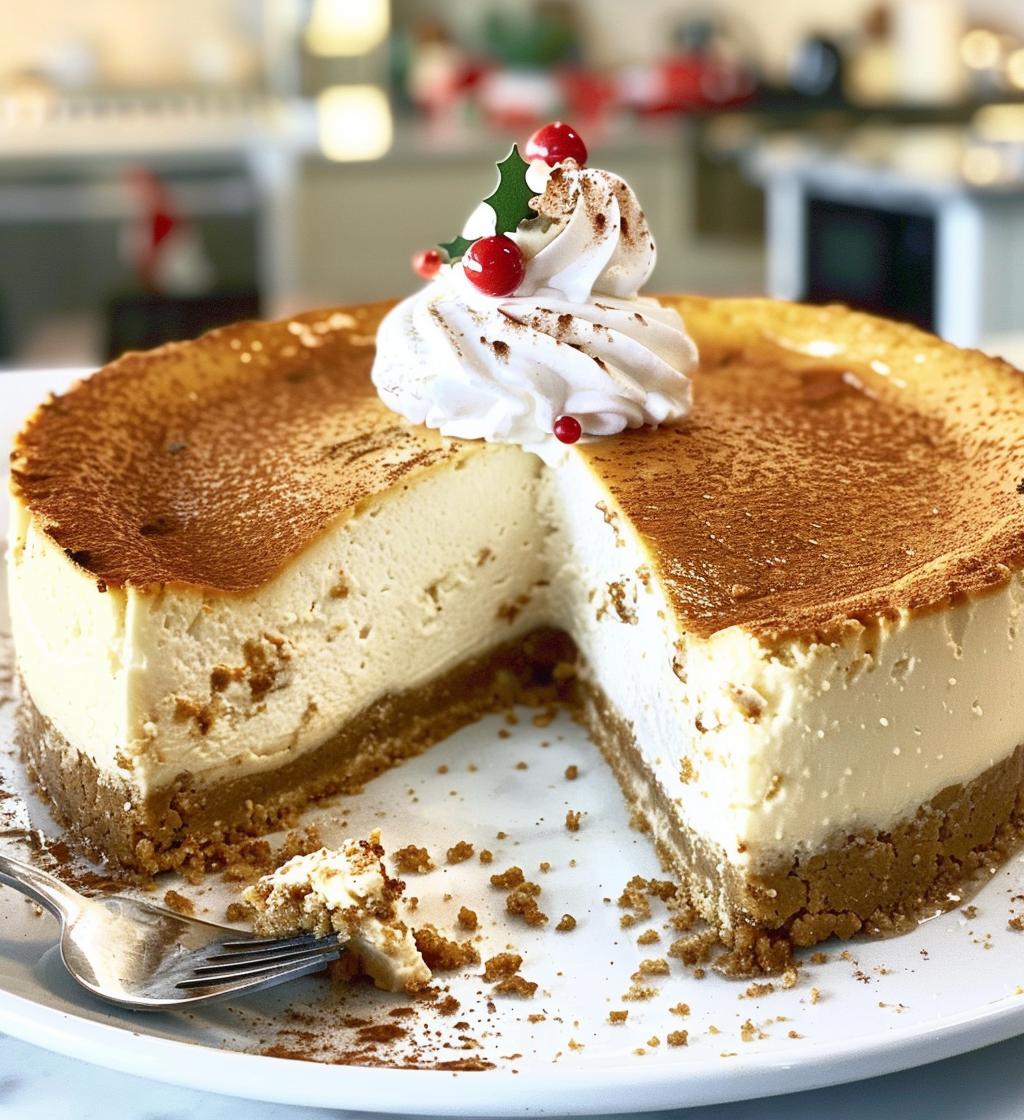
- Whipped Cream: A dollop of freshly whipped cream on top is a classic move! It adds a light and airy contrast to the rich cheesecake. You can even sprinkle a bit of cinnamon on top for that festive flair!
- Fresh Berries: Serve your cheesecake with a side of fresh raspberries or strawberries. The tartness of the berries complements the sweetness of the cheesecake beautifully. Plus, they make your plate look so pretty!
- Chocolate Ganache: Drizzle some warm chocolate ganache over each slice for a decadent touch. The smooth chocolate pairs wonderfully with the creamy filling. You can use dark, milk, or even white chocolate—whatever tickles your taste buds!
- Caramel Sauce: A warm caramel drizzle can add a rich, buttery sweetness that’s irresistible! It’s particularly delightful if you’ve added pecans to your cheesecake. Just picture that gooey goodness!
- Coffee or Hot Cocoa: Pair your cheesecake with a warm drink like coffee or hot cocoa. The cozy flavors of these beverages perfectly match the holiday spirit and will keep your guests feeling festive!
- Spiced Nuts: A small bowl of spiced nuts can be a delightful crunchy contrast to the creamy cheesecake. You can toss some pecans or walnuts with a bit of cinnamon and sugar for a sweet and salty treat!
- Cranberry Sauce: A spoonful of homemade cranberry sauce on the side can add a lovely tangy kick. It’s like a burst of holiday flavor that cuts through the richness of the cheesecake!
Mix and match these suggestions to create a beautiful dessert spread that’ll wow your guests! The key is to have fun and enjoy the process, so don’t hold back. Your Christmas cheesecake is going to be the star of the show, and with these pairings, it’ll shine even brighter!
FAQ About Christmas Cheesecake
Got questions about making this Christmas cheesecake? Don’t worry, I’ve got you covered! Here are some of the most common questions I get, along with my answers to help you out!
Can I use low-fat cream cheese?
Absolutely! You can use low-fat cream cheese, but just keep in mind the texture might be a bit different—maybe not as rich and creamy. But hey, it’s still cheesecake, and it’ll still be delicious!
What can I do if my cheesecake cracks?
Oh no, cracks can happen, but don’t fret! A couple of things can help. First, make sure you’re not overmixing the batter, and second, consider using a water bath next time. It helps create a gentler baking environment. If cracks do appear, you can always top your cheesecake with whipped cream or a fruit sauce to hide them—no one will ever know!
How do I know when my cheesecake is done?
Great question! You’ll want to look for the edges to be set while the center still has a slight jiggle. It’ll firm up as it cools, so don’t worry if it looks a bit soft in the middle when you take it out of the oven. Just keep an eye on it towards the end of the baking time!
Can I make this cheesecake ahead of time?
Absolutely! In fact, I recommend it! This Christmas cheesecake is perfect for making a day in advance. Just make sure to give it enough time to chill in the fridge, and it’ll be even better the next day as the flavors meld together!
Can I freeze the cheesecake?
You can! Just wrap it tightly in plastic wrap and then in aluminum foil to prevent freezer burn. It’ll stay good for about 2 months. When you’re ready to enjoy it, let it thaw in the fridge overnight before serving. It’s like having a little piece of Christmas magic waiting for you!
What’s the best way to slice the cheesecake?
For that perfect slice, dip your knife in hot water and wipe it clean between cuts. This helps create smooth edges and keeps your slices looking beautiful. Plus, it’s just so satisfying to serve up those perfect pieces!
Can I use a different type of crust?
Of course! Feel free to experiment with different crusts. A chocolate cookie crust or a gingerbread crust can add a fun twist. Just crush your cookies and mix them with melted butter, and you’re good to go!
I hope these FAQs help clear up any questions you might have! Remember, making a Christmas cheesecake is all about enjoying the process and creating something delicious to share with loved ones. Happy baking!