

There’s something truly magical about making chocolate truffles at home. I mean, just think about it: rich, velvety chocolate wrapped in a dusting of cocoa powder, all created right in your own kitchen! It’s surprisingly easy, and the best part? You can customize them to suit any occasion, whether it’s a cozy night in or a fancy dinner party. I remember the first time I made these delightful treats; I was a bit nervous, but as soon as I took that first bite, I was hooked! Trust me, once you try making these chocolate truffles, you’ll never want to go back to store-bought again!
Ingredients List
To whip up the most delicious homemade chocolate truffles, you’ll need just a few simple ingredients. Here’s what you’ll need:
- 8 oz dark chocolate, chopped: Use high-quality dark chocolate for the richest flavor. It’s the star of the show, so don’t skimp here!
- 1/2 cup heavy cream: This adds that luxurious creaminess we all love. Make sure it’s fresh for the best results.
- 1 tsp vanilla extract: A splash of vanilla enhances the chocolate’s depth, giving your truffles that extra something special.
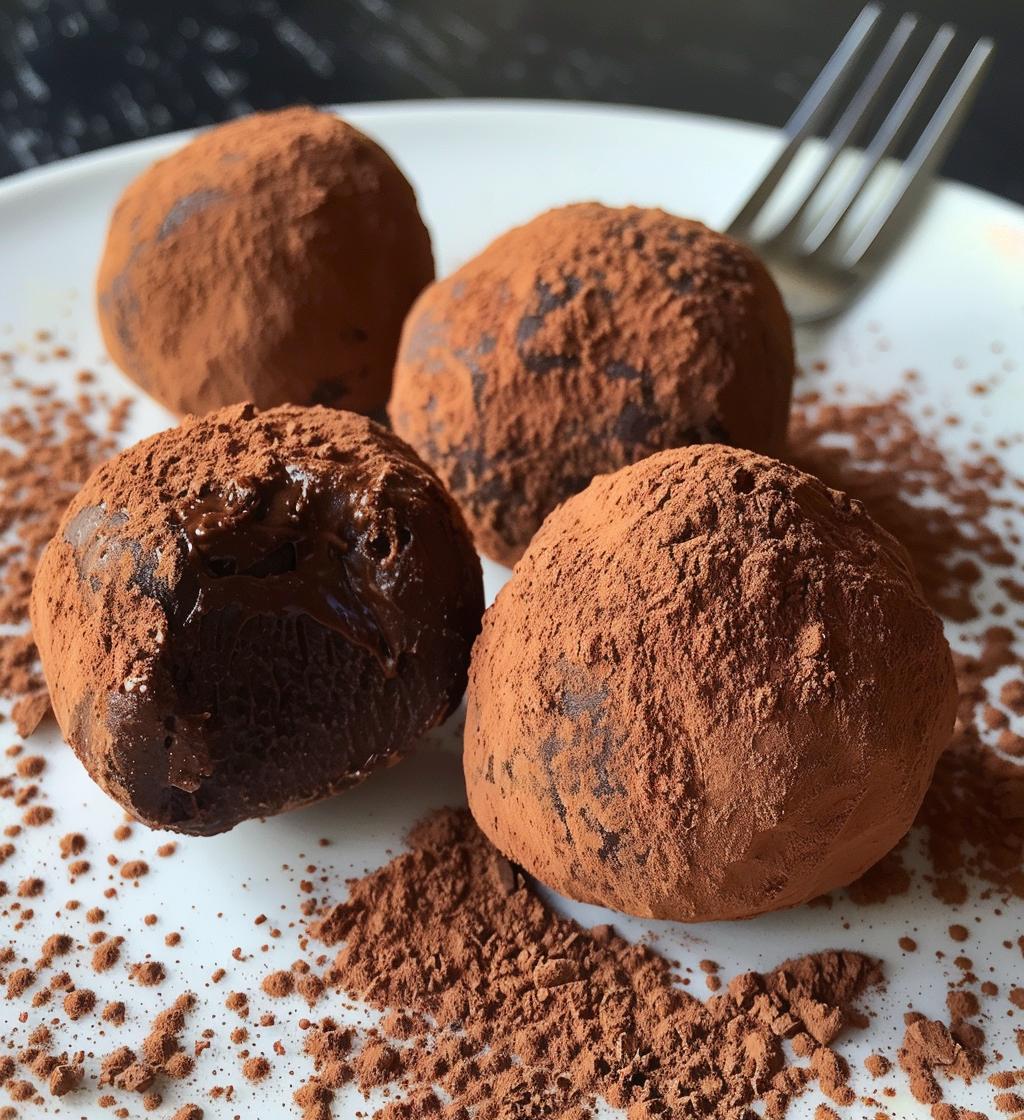
- Cocoa powder for dusting: This is what gives your truffles that classic, elegant finish. You can also experiment with other coatings like chopped nuts or desiccated coconut!
How to Prepare Chocolate Truffles
Making chocolate truffles is a delightful process, and I promise it’s easier than you might think! Just follow these simple steps, and soon you’ll have a batch of these irresistible treats ready to enjoy.
Step 1: Heat the Cream
Start by pouring the heavy cream into a saucepan. Heat it over medium heat, stirring gently until it simmers. You want those tiny bubbles to form, but be careful not to let it boil. This step is crucial for making sure your chocolate melts perfectly!
Step 2: Melt the Chocolate
Once the cream is simmering, remove the saucepan from the heat. Add in the chopped dark chocolate and give it a good stir. Watch as the chocolate begins to melt and blend beautifully with the cream. Keep stirring until the mixture is completely smooth and glossy—oh, it’s heavenly!
Step 3: Add Flavor
Now, it’s time to enhance that chocolate bliss! Stir in the vanilla extract, mixing well to incorporate it fully. This little touch of flavor is what makes your truffles sing with deliciousness!
Step 4: Chill the Mixture
Transfer the chocolate mixture to a bowl and cover it with plastic wrap. Pop it in the fridge for about 2 hours. During this time, it’ll firm up, making it easier to roll into those perfect little balls. Just be patient—it’s worth the wait!
Step 5: Form Truffles
Once the chocolate mixture is nice and chilled, use a melon baller or your hands to scoop out small portions. Roll each scoop between your palms to form smooth balls. Then, roll them in cocoa powder, ensuring they’re well-coated. It’s like giving them a cozy little blanket!
Step 6: Store the Truffles
After you’ve rolled all your truffles, place them in an airtight container and keep them in the fridge. Let them chill for at least another hour to firm up completely. They’ll be ready to savor whenever you need a sweet treat!
Why You’ll Love This Recipe
- Quick preparation: You can whip these up in just 15 minutes!
- No-bake method: Perfect for warm days when you don’t want to turn on the oven.
- Versatile flavors: Customize your truffles with different extracts or liqueurs.
- Impressive presentation: They look elegant and are perfect for gifts or special occasions.
- Deliciously decadent: Each bite is a chocolate lover’s dream come true!
Tips for Success
To achieve the best chocolate truffles, always use high-quality chocolate; it makes all the difference in flavor! Don’t be afraid to experiment with flavors—try adding a splash of your favorite liqueur or a hint of orange zest for a delightful twist. And remember, patience is key during chilling for perfect texture!
Nutritional Information
These delectable chocolate truffles are a treat worth savoring! Each truffle has approximately 100 calories, with 7g of fat, 1g of protein, and 9g of carbohydrates. Keep in mind, these values are estimates and can vary based on the ingredients used.
FAQ Section
Can I use milk chocolate instead of dark chocolate?
Absolutely! You can use milk chocolate instead of dark chocolate for your chocolate truffles. Just keep in mind that the flavor will be sweeter and creamier, which might be perfect if you prefer a lighter taste. I love experimenting with both types to see which mood I’m in!
How long can I store chocolate truffles?
You can store your homemade chocolate truffles in an airtight container in the fridge for up to two weeks. Just make sure they’re well-covered so they don’t absorb any odors from the fridge. They’re so tasty, I doubt they’ll last that long!
Can I add flavors to chocolate truffles?
Absolutely! You can easily customize your chocolate truffles by adding a variety of flavors. Try incorporating extracts like almond or peppermint, or even a splash of your favorite liqueur for an adult twist. It’s such a fun way to make them uniquely yours!
Serving Suggestions
These delightful chocolate truffles are perfect for so many occasions! Pair them with a rich cup of coffee or a glass of dessert wine for a luxurious treat. They also make fantastic gifts—just box them up beautifully and watch faces light up when they unwrap these indulgent morsels. Enjoy them at parties or keep them all to yourself for those sweet cravings!
For more delicious recipes, check out our all recipes page!
For tips on chocolate quality, you can refer to this guide on quality chocolate.