

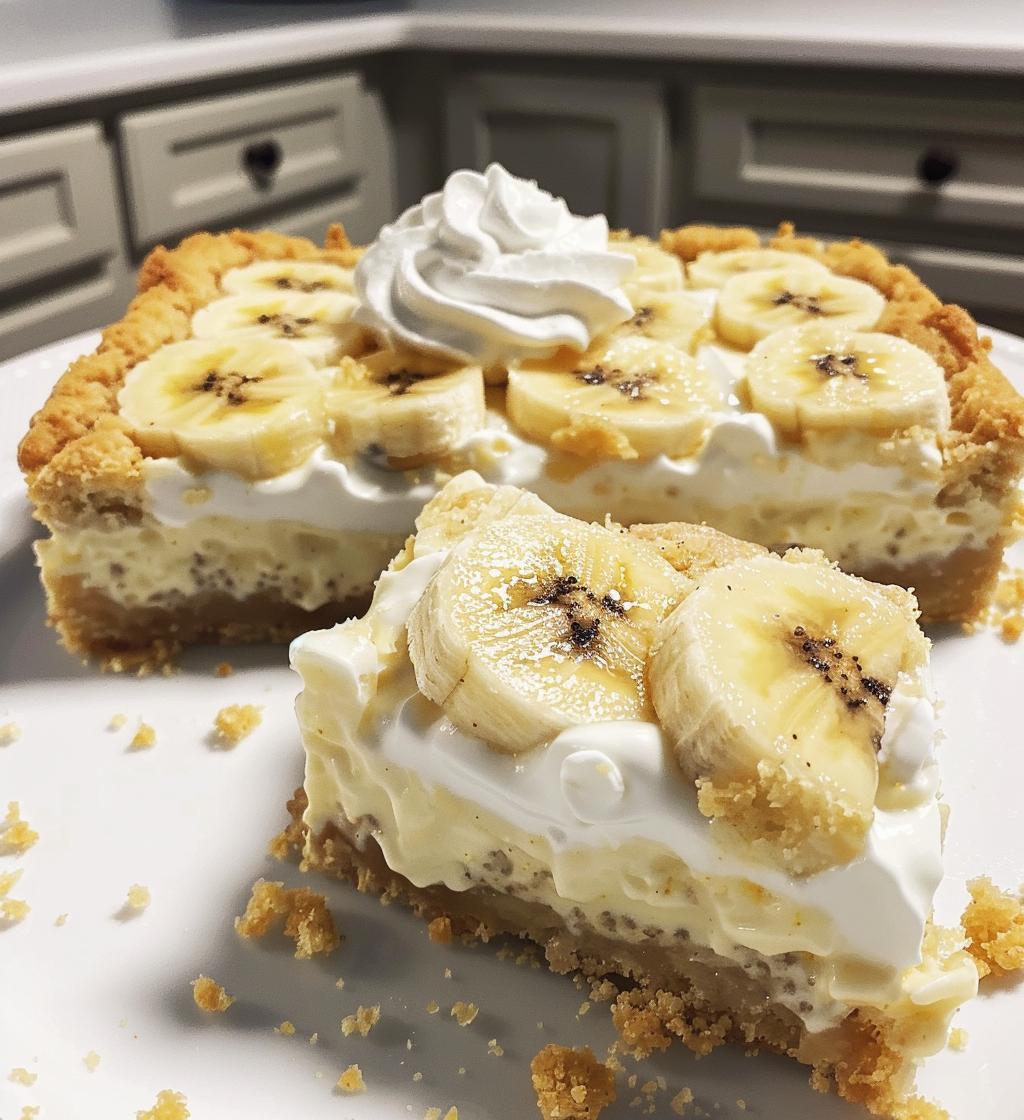
Oh my goodness, let me tell you about the absolute magic of banana pudding bars! These delightful treats have taken the classic banana pudding to a whole new level, transforming it into a finger-friendly dessert that everyone adores. Imagine the creamy, dreamy filling paired with a perfectly crunchy crust – it’s a match made in dessert heaven!
I remember the first time I made these for a family gathering. The sun was shining, and we had everyone over for a backyard barbecue. I pulled these banana pudding bars out of the fridge, and let me tell you, the look on my family’s faces was priceless! They dove right in, and it wasn’t long before the plate was empty, with everyone begging for the recipe. It’s moments like these that remind me why I love cooking so much—bringing people together over delicious food!
So if you want to impress your friends and family, or just treat yourself to something sweet, these banana pudding bars are the way to go. Trust me, they’ll be asking for seconds!
Ingredients for Banana Pudding Bars
Alright, let’s gather all the yummy ingredients you’ll need to whip up these banana pudding bars! It’s so straightforward, and I promise you’ll find everything right in your pantry or fridge.
- 1 cup all-purpose flour – This will form the base of our crunchy crust, so measure it out nice and level!
- 1/2 cup unsalted butter, melted – Make sure it’s nice and melted, but not hot, or it could affect how the crust comes together.
- 1/4 cup granulated sugar – Just a little sweetness for the crust to complement the creamy filling.
- 1 package (3.4 oz) instant vanilla pudding mix – The star of the show! This gives our filling that luscious texture and flavor.
- 2 cups milk – Whole milk works best for that creamy goodness, but you can use whatever you have on hand.
- 1 teaspoon vanilla extract – A splash of this will elevate the flavor to dreamy heights.
- 2 ripe bananas, sliced – The riper, the better! They’ll add natural sweetness and that classic banana flavor.
- 1 cup whipped cream – For topping! You can use homemade or store-bought; just make sure it’s fluffy and ready to be folded in.
And that’s it! Gather these ingredients, and you’re well on your way to creating something truly special. Let’s get cooking!
How to Prepare Banana Pudding Bars
Now that we’ve got our ingredients ready, it’s time to dive into the fun part: preparing these delectable banana pudding bars! Don’t worry; I’ll walk you through it step by step. Just follow along, and you’ll be a banana pudding bar pro in no time!
Step-by-Step Instructions
- Preheat your oven: First things first, set that oven to 350°F (175°C). This is key for getting that crust nice and golden.
- Make the crust: In a large mixing bowl, combine the flour, melted butter, and sugar. Use a fork or your hands to mix it until it resembles coarse crumbs. It should hold together when you squeeze it, but not be too wet.
- Press it into the dish: Grab an 8×8 inch baking dish and grease it lightly. Then, take that crumbly mixture and press it firmly into the bottom of the dish. Make sure it’s even – this will be our crunchy base!
- Bake the crust: Pop the dish in the preheated oven and bake for about 15 minutes. You want it to be lightly golden. Once it’s done, remove it and let it cool completely. Patience is key here!
- Prepare the filling: In another bowl, whisk together the instant vanilla pudding mix and milk. Keep whisking until it thickens up, which usually takes about 2 minutes. You want it nice and creamy!
- Add flavor: Stir in that lovely vanilla extract and the sliced bananas. Make sure the bananas are evenly distributed – every bite deserves that delicious banana flavor.
- Fold in the whipped cream: This is where the magic happens. Gently fold in the whipped cream until it’s just combined. You want to keep that light and airy texture, so be gentle!
- Spread the filling: Once your crust is completely cool, spread the pudding mixture evenly over it. Don’t be shy – get it all in there!
- Chill: Now, cover the dish and pop it in the fridge for at least 2 hours. This step is crucial for letting everything set up perfectly.
And there you have it! Just follow these steps, and you’ll have a batch of scrumptious banana pudding bars ready to impress. I can almost taste them already! Don’t forget to sneak a little taste before serving – quality control, right?
Why You’ll Love This Recipe
- Easy to make: Seriously, with just a few simple steps, you’ll have these bars whipped up in no time. Perfect for both novice and experienced bakers!
- Perfect for gatherings: These banana pudding bars are a crowd-pleaser! Whether it’s a barbecue, potluck, or family dinner, they disappear fast.
- Rich flavor: The combination of creamy pudding, fresh bananas, and that buttery crust creates a flavor explosion that’s hard to resist.
- Great texture: You get the delightful crunch from the crust, followed by a smooth and creamy filling. It’s a heavenly bite every time!
- Make-ahead friendly: Prep these bars in advance and chill them until you’re ready to serve. Less stress and more time to enjoy your guests!
- Customizable: Want to add a twist? You can easily mix it up with different pudding flavors or toppings. The possibilities are endless!
Trust me, once you make these banana pudding bars, you’ll wonder how you ever lived without them. They’re a delightful treat that brings joy to every occasion!
Tips for Success
Alright, let’s make sure your banana pudding bars turn out absolutely perfect! I’ve got some tried-and-true tips that I swear by every time I whip up this recipe. Trust me, they’ll help you achieve the best results and impress everyone.
- Use ripe bananas: This is a game changer! The riper the bananas, the sweeter and more flavorful your filling will be. Look for bananas with lots of brown spots – that’s when they’re at their best!
- Press the crust firmly: When you’re pressing the crust mixture into the baking dish, really make sure it’s compact. This will help the crust hold together nicely and give you that perfect crunch.
- Let the crust cool completely: Patience is a virtue here! Make sure your crust is completely cooled before adding the filling. This helps keep everything from getting mushy and ensures the layers stay distinct.
- Whip the cream to soft peaks: If you’re using homemade whipped cream, make sure you don’t overwhip it. Stop when you see soft peaks forming. This keeps it light and fluffy, which is exactly what you want for that creamy texture!
- Chill for adequate time: Resist the urge to cut into the bars too soon! Chilling them for at least 2 hours is crucial for allowing everything to set perfectly. You’ll thank yourself later when you get those clean, beautiful slices!
- Taste as you go: Don’t forget to do a little taste testing throughout the process! It’s a fun way to ensure everything is just right and gives you a chance to adjust sweetness or flavors if needed.
With these tips, you’ll be on your way to banana pudding bar perfection! I can’t wait for you to take your first bite – it’s going to be amazing!
Variations on Banana Pudding Bars
Now, let’s get a little creative with these banana pudding bars! One of the best parts about this recipe is how adaptable it is. You can mix and match flavors to suit your mood or occasion, and I’m excited to share some of my favorite variations with you!
- Chocolate Lovers: If you’re a fan of chocolate, try adding chocolate chips to the filling or using chocolate pudding mix instead of vanilla. It creates a rich and indulgent twist that’s to die for!
- Nutty Delight: Want a bit of crunch? Toss in some chopped nuts like walnuts or pecans into the filling or sprinkle them on top before serving. The added texture is just delightful!
- Fruit Medley: Mix it up by adding other fruits! Strawberries or raspberries can add a bright pop of color and flavor. Just make sure to slice them thin to keep the layers pretty!
- Peanut Butter Swirl: For a fun twist, mix in some creamy peanut butter into the pudding mixture. It pairs beautifully with the bananas and adds a nutty richness that’s irresistible!
- Seasonal Spices: In the fall, try adding a pinch of cinnamon or nutmeg for a warm, cozy flavor. It’s like autumn in bar form, and everyone will love it!
- Different Pudding Flavors: Don’t be afraid to experiment with other instant pudding flavors! Coconut, butterscotch, or even cheesecake pudding can create a whole new dessert experience.
The possibilities are endless, and that’s what I love about these banana pudding bars! So go ahead, get creative, and put your own spin on this classic treat. I can’t wait to hear what delicious combinations you come up with!
Serving Suggestions
Now that you’ve got your delicious banana pudding bars all set, let’s talk about how to take your serving game to the next level! These bars are already a treat on their own, but pairing them with the right accompaniments can elevate the experience even more. Here are some of my favorite serving suggestions that I just know you’ll love!
- Coffee: A nice, warm cup of coffee is the perfect partner for these creamy bars. The rich flavors of the coffee balance out the sweetness of the pudding, making each bite even more satisfying. Whether you prefer a classic brew or a frothy latte, get ready for a flavor explosion!
- Vanilla Ice Cream: Seriously, what’s better than a scoop of creamy vanilla ice cream next to your banana pudding bars? The cold, velvety ice cream complements the warm notes of banana beautifully. You’ll feel like you’ve hit the dessert jackpot!
- Fresh Whipped Cream: If you want to keep it simple, a dollop of fresh whipped cream on top adds an extra layer of creaminess. It’s light and airy, which pairs perfectly with the rich filling of the bars.
- Chocolate Sauce: For all you chocolate lovers, drizzling a bit of warm chocolate sauce over your banana pudding bars is a must! The combination of chocolate and banana is simply divine, and it adds a touch of indulgence.
- Fruit Salad: A light and refreshing fruit salad on the side can balance the richness of the bars. Toss together some berries, kiwi, and citrus for a colorful and zesty complement that brightens up the plate!
- Sweet Tea: If you’re feeling a bit southern, serve these bars with a glass of sweet tea! The refreshing, sugary notes of the tea work wonderfully with the creamy texture of the pudding bars.
So go ahead, get creative with your pairings! These banana pudding bars are versatile enough to shine alongside a variety of treats and drinks. You’re in for a delightful experience, and I can’t wait for you to share it with friends and family!
Storage & Reheating Instructions
Alright, let’s talk about how to keep those delicious banana pudding bars fresh and tasty! You definitely want to store them properly so you can enjoy them for days to come. Here’s the scoop on how to do just that.
First, once your bars have chilled and are set, cover the baking dish tightly with plastic wrap or aluminum foil. This will help lock in that creamy goodness and keep them from drying out. If you’d like, you can also transfer them to an airtight container for extra protection. They’ll stay fresh in the fridge for about 3 to 4 days, but trust me, they probably won’t last that long!
Now, if you find yourself with leftovers (lucky you!), you can also freeze these banana pudding bars! Just make sure they’re completely cooled before you wrap them up. I recommend cutting them into individual pieces first, so you can grab one whenever a sweet craving hits. Wrap each bar tightly in plastic wrap, then place them in a freezer-safe container or bag. They should keep well in the freezer for up to 2 months.
When you’re ready to enjoy a frozen bar, simply take it out and let it thaw in the fridge for a few hours, or even overnight. I wouldn’t recommend reheating them, as the creamy filling is best enjoyed chilled. But hey, if you’re feeling adventurous, you could try a quick zap in the microwave for just a few seconds to take the chill off—just be careful not to overheat!
So there you have it! With these simple storage tips, you can keep those banana pudding bars delicious and ready to enjoy any time you want. Happy snacking!
Nutritional Information
Now, I know you’re curious about what’s packed into these delicious banana pudding bars! Here’s a breakdown of the typical nutritional values per serving. Keep in mind that these values can vary a bit depending on the specific ingredients you use, but this will give you a general idea of what you’re enjoying.
- Serving Size: 1 bar
- Calories: 210
- Fat: 10g
- Saturated Fat: 6g
- Unsaturated Fat: 3g
- Trans Fat: 0g
- Sodium: 120mg
- Carbohydrates: 30g
- Fiber: 1g
- Sugar: 10g
- Protein: 3g
- Cholesterol: 30mg
So, there you have it! These banana pudding bars are not just a delightful treat; they also come with a decent balance of flavor and nutrition. Now you can enjoy them even more, knowing what’s in every scrumptious bite!
FAQ Section
Can I use different pudding flavors?
Absolutely! Feel free to mix it up with other instant pudding flavors like chocolate, butterscotch, or even coconut. Each brings its unique twist to the bars, so get creative!
How should I store leftovers?
Store any leftover banana pudding bars in the fridge, covered tightly with plastic wrap or in an airtight container. They’ll stay fresh for about 3 to 4 days – if they last that long!
Can I freeze banana pudding bars?
Yes, you can! Just make sure they’re completely cooled before wrapping them in plastic wrap and placing them in a freezer-safe container. They’ll keep well for up to 2 months. Thaw them in the fridge before enjoying!
What can I use instead of whipped cream?
If you don’t have whipped cream, you can use Cool Whip or even make your own by whipping heavy cream with a bit of sugar. Both options will work beautifully in the recipe!
Can I add nuts to the recipe?
Definitely! Chopped nuts like walnuts or pecans can add a lovely crunch to the filling or make a delicious topping. Just keep in mind to check for nut allergies if you’re serving these to a crowd!
For more delicious recipes, check out our all recipes page!
Also, if you’re interested in learning more about the health benefits of bananas, you can read this article on Healthline.