

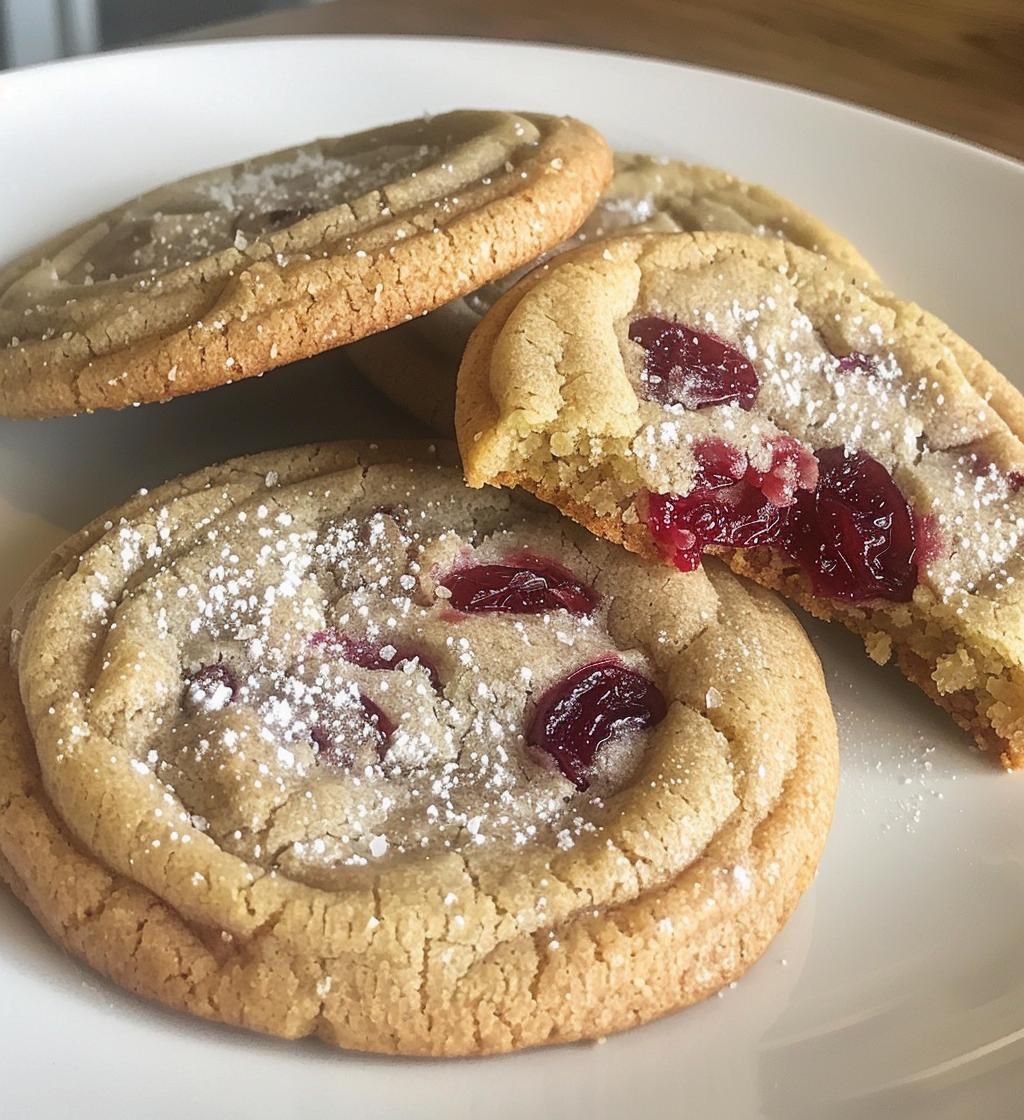
Ah, spring! It’s that magical time when everything bursts into color, and the air is filled with the sweet scent of blooming flowers. I love to celebrate the season with my Cherry Blossom Cookies, which, to me, perfectly capture the essence of springtime joy. I remember the first time I made these delightful treats; the sun was shining, and I had just picked up a bag of dried cherries from the market. As I mixed the dough, I could almost hear the birds chirping outside. The vibrant pinks and whites of the cherry blossoms inspired me, and I just knew these cookies would bring a smile to anyone who tasted them. They’re soft, sweet, and bursting with cherry flavor, making them the ideal treat for a spring picnic or a cozy afternoon at home. Trust me, you’ll want to make these again and again!
Ingredients List
Here’s what you’ll need to whip up a batch of my delightful Cherry Blossom Cookies. Make sure to gather all your ingredients before you start, so you can enjoy the process without any interruptions!
- 1 cup all-purpose flour
- 1/2 cup unsalted butter, softened
- 1/2 cup sugar
- 1/4 cup powdered sugar
- 1 egg
- 1 teaspoon vanilla extract
- 1/2 teaspoon almond extract
- 1/4 teaspoon salt
- 1/2 cup dried cherries, chopped
(Tip: I like to chop the dried cherries into smaller pieces to distribute that lovely fruitiness throughout the cookies. It makes every bite a cherry delight!)
How to Prepare Cherry Blossom Cookies
Making my Cherry Blossom Cookies is a breeze, and I can’t wait to share the process with you! Let’s get those delicious cookies baking in just a few easy steps.
Step-by-Step Instructions
Prepping the Dough
First things first, preheat your oven to 350°F (175°C). This is key to getting that perfect bake! Now, grab a large mixing bowl and cream together the softened unsalted butter, sugar, and powdered sugar. I usually mix them for about 2-3 minutes until the mixture is light and fluffy—this makes a huge difference in texture!
Next, add in the egg, vanilla extract, and almond extract. Mix everything together until it’s well combined, just about another minute should do it. In a separate bowl, combine the all-purpose flour and salt. Gradually add this dry mixture to your wet ingredients, mixing gently to avoid overworking the dough. You want a nice, soft consistency that’s ready to embrace the cherries!
Finally, fold in those delightful chopped dried cherries until they’re evenly distributed throughout the dough. Yum!
Shaping and Baking
Now for the fun part! Use a spoon or cookie scoop to drop spoonfuls of dough onto a baking sheet lined with parchment paper. I usually leave about 2 inches between each cookie, as they’ll spread a little while baking. Pop them in the oven and bake for 10-12 minutes, or until the edges are lightly golden. Keep an eye on them, as oven times can vary! You’ll know they’re done when the cookies are lightly firm to the touch but still soft in the center. Let them cool on a wire rack, and get ready for the delightful cherry aroma to fill your kitchen!
Why You’ll Love This Recipe
- Quick and easy to make, perfect for a spontaneous spring baking session!
- Deliciously sweet with bursts of cherry flavor in every bite.
- Soft and chewy texture that melts in your mouth.
- Beautifully colorful, making them a lovely addition to any dessert table.
- Perfect for sharing with friends and family during spring picnics or gatherings.
- Customizable with other dried fruits if you’re feeling adventurous!
- They’ll fill your kitchen with a delightful aroma that’s hard to resist.
Tips for Success
Want to ensure your Cherry Blossom Cookies turn out perfectly every time? Here are my top tips to help you avoid any cookie catastrophes and get that delightful texture just right!
- Use room temperature butter: This is crucial! Softened butter blends better with the sugars, creating that fluffy texture we love. If your butter is too cold, it won’t cream well, and your cookies may turn out dense.
- Don’t overmix: When you add the flour, mix just until combined. Overmixing can lead to tough cookies, and we want soft, chewy perfection! Trust me, a little lumpiness in the dough is okay.
- Chop the cherries finely: I can’t stress this enough! The smaller the pieces, the better the cherry flavor will be throughout the cookies. Plus, it helps them blend into the dough smoothly!
- Keep an eye on baking time: Ovens can vary, so start checking your cookies a minute or two early. Remember, they’ll continue to firm up as they cool on the baking sheet, so don’t worry if they look a little soft when you take them out!
- Cool on a wire rack: This is key for preventing sogginess! Letting them cool on a wire rack allows air to circulate around the cookies, which keeps them from getting too soft on the bottom.
- Experiment with flavors: If you’re feeling adventurous, try adding a pinch of cinnamon or a splash of lemon zest to the dough for a fun twist. The possibilities are endless!
With these handy tips, you’ll be well on your way to baking the most scrumptious Cherry Blossom Cookies that will have everyone asking for seconds!
Nutritional Information
Curious about the nutritional goodness of my delightful Cherry Blossom Cookies? Here’s a rough estimate of what you can expect per cookie. Keep in mind that these values can vary based on ingredient brands and portion sizes, but this should give you a good ballpark figure!
- Calories: 100
- Fat: 5g
- Saturated Fat: 3g
- Trans Fat: 0g
- Cholesterol: 15mg
- Sodium: 50mg
- Carbohydrates: 12g
- Fiber: 1g
- Sugar: 8g
- Protein: 1g
These cookies are a sweet treat, but they can be enjoyed in moderation, especially during those lovely spring days! So go ahead, indulge a little—you deserve it!
FAQ Section
Can I use fresh cherries instead of dried cherries?
While I love the sweetness of dried cherries in my Cherry Blossom Cookies, you can absolutely experiment with fresh cherries! Just keep in mind that fresh cherries have more moisture, so you might need to adjust the flour slightly to avoid a soggy dough. Make sure to chop them finely and remove the pits!
How do I know when my cookies are done baking?
Great question! You’ll want to look for lightly golden edges and a soft center that doesn’t jiggle. They will firm up a bit as they cool, so don’t worry if they seem slightly underbaked when you take them out. Trust your instincts—they should smell heavenly too!
Can I freeze the cookie dough for later?
Absolutely! I love making a big batch of dough and freezing it for those unexpected cookie cravings. Just scoop the dough onto a baking sheet and freeze until solid, then transfer the dough balls to an airtight container or freezer bag. When you’re ready to bake, let them thaw in the fridge for a few hours, then bake as usual!
What can I substitute for almond extract?
If you’re not a fan of almond extract, no worries! You can simply leave it out or replace it with an equal amount of extra vanilla extract. For a fun twist, try using coconut extract for a tropical vibe!
How should I store leftover cookies?
To keep those Cherry Blossom Cookies fresh and delicious, store them in an airtight container at room temperature. They’re best enjoyed within a week, but trust me, they might not last that long—they’re just too good!
Storage & Reheating Instructions
Now, let’s talk about how to keep those scrumptious Cherry Blossom Cookies fresh and ready to enjoy! After you’ve baked them to golden perfection, let them cool completely on a wire rack. This step is super important to avoid any sogginess!
Once they’re cool, store your cookies in an airtight container at room temperature. They’ll stay delicious for about a week—if they last that long! I’ve found that keeping them in a single layer works best, but if you need to stack them, place a sheet of parchment paper between layers to keep them from sticking together.
If you want to enjoy your cookies even later, you can freeze them! Just pop them in a freezer-safe bag or container. They’ll keep well for up to 2 months, and trust me, there’s nothing quite like the joy of pulling out a cookie from the freezer on a cozy afternoon. When you’re ready to indulge, let them thaw at room temperature for about 15-20 minutes, and they’ll be just as delightful as when you first baked them.
As for reheating, if you prefer your cookies a bit warm, you can pop them in the microwave for about 10-15 seconds. Just be cautious, as you don’t want them to get too hot and lose that lovely soft texture. Enjoy every bite of your Cherry Blossom Cookies, whether fresh out of the oven or as a sweet treat later on!
Print
Cherry Blossom Cookies That Evoke Springtime Bliss
- Prep Time: 15 minutes
- Cook Time: 12 minutes
- Total Time: 27 minutes
- Yield: 24 cookies 1x
- Category: Dessert
- Method: Baking
- Cuisine: American
- Diet: Vegetarian
Description
Delicious cherry blossom cookies that are perfect for spring.
Ingredients
- 1 cup all-purpose flour
- 1/2 cup unsalted butter, softened
- 1/2 cup sugar
- 1/4 cup powdered sugar
- 1 egg
- 1 teaspoon vanilla extract
- 1/2 teaspoon almond extract
- 1/4 teaspoon salt
- 1/2 cup dried cherries, chopped
Instructions
- Preheat the oven to 350°F (175°C).
- In a bowl, cream together the butter, sugar, and powdered sugar.
- Add the egg, vanilla extract, and almond extract. Mix well.
- In another bowl, combine flour and salt. Gradually add to the wet mixture.
- Fold in the chopped cherries.
- Drop spoonfuls of dough onto a baking sheet.
- Bake for 10-12 minutes or until edges are lightly golden.
- Let cool on a wire rack.
Notes
- Store in an airtight container.
- Best enjoyed within a week.
- You can substitute dried cherries with other dried fruits.
Nutrition
- Serving Size: 1 cookie
- Calories: 100
- Sugar: 8g
- Sodium: 50mg
- Fat: 5g
- Saturated Fat: 3g
- Unsaturated Fat: 2g
- Trans Fat: 0g
- Carbohydrates: 12g
- Fiber: 1g
- Protein: 1g
- Cholesterol: 15mg
Keywords: Cherry Blossom Cookies, Cookies, Spring Cookies, Dessert