

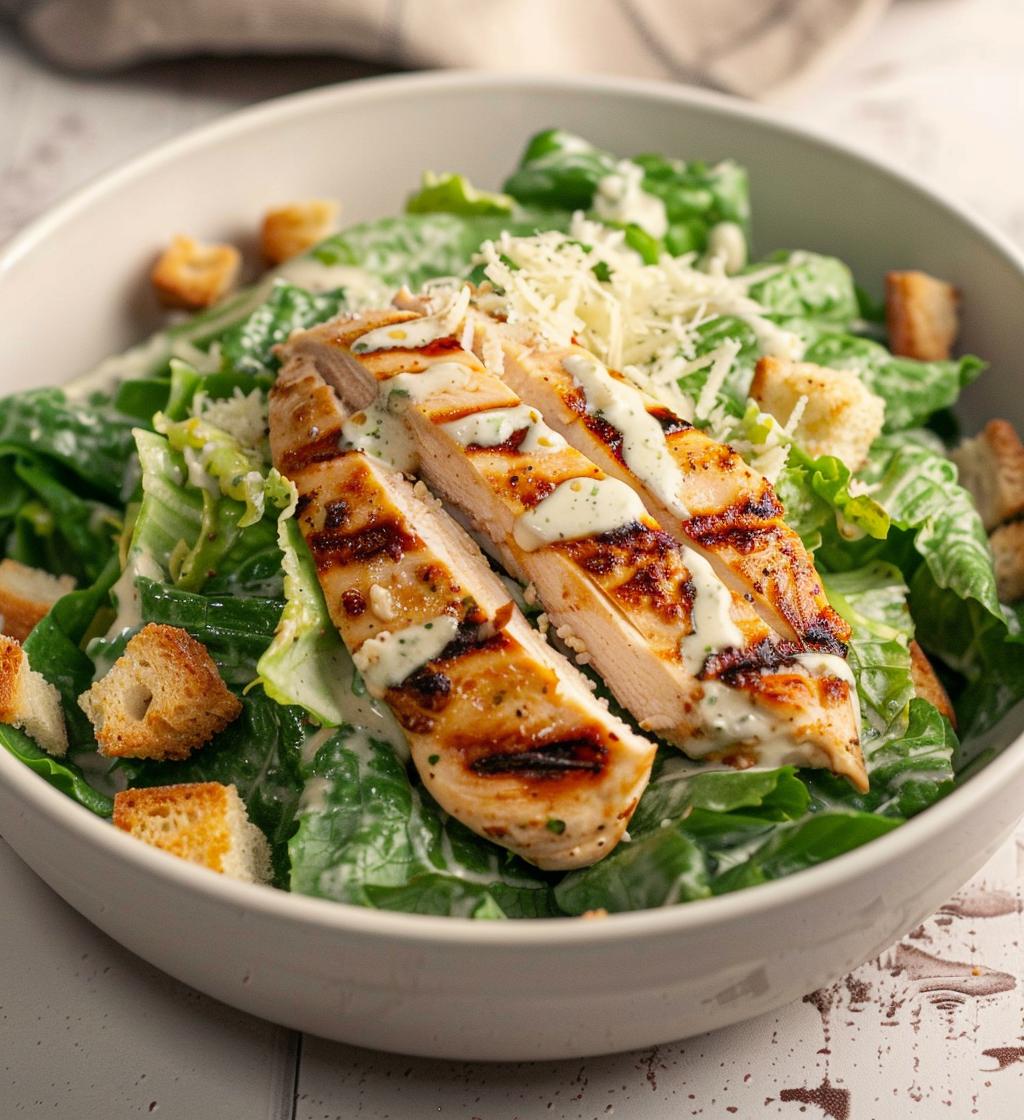
Oh, let me tell you about my absolute go-to for busy weeknights: Caesar Chicken! This dish brings together the classic flavors of a Caesar salad with the juicy goodness of grilled chicken, and it’s so simple to whip up. I remember the first time I made this—I was in a rush, but I still wanted something delicious and satisfying. This recipe saved the day! It’s perfect when you need a quick meal that feels indulgent without all the fuss. Trust me, once you try this Caesar Chicken, you’ll wonder how you ever lived without it!
Ingredients List
Here’s what you’ll need to create this delicious Caesar Chicken. Don’t worry, it’s super straightforward! Make sure to get these measurements right, and you’ll be golden.
- 2 chicken breasts
- 1 cup romaine lettuce, chopped
- 1/4 cup Caesar dressing
- 1/4 cup Parmesan cheese, grated
- 1/4 cup croutons
- 1 tablespoon olive oil
- Salt and pepper to taste
Feel free to adjust the quantities based on your taste preferences or how hungry you are! And don’t forget, fresh ingredients make all the difference in flavor. Enjoy shopping and prepping!
How to Prepare Caesar Chicken
Alright, let’s get into the nitty-gritty of making this mouthwatering Caesar Chicken! It’s all about that perfect grill and fresh ingredients coming together. Follow my steps, and you’ll have a delightful meal ready in no time!
Prepping the Chicken
First things first, let’s get our chicken ready! Start by preheating your grill to medium-high heat—this is key for that lovely char! While it’s heating up, take your chicken breasts and pat them dry with a paper towel. This ensures they’ll get that nice crispy exterior. Next, drizzle them with a tablespoon of olive oil and season generously with salt and pepper on both sides. You want those flavors to really shine! Now, place the chicken on the grill. Grill each side for about 6-7 minutes until you see those beautiful grill marks and the chicken is cooked through. Once done, remove the chicken from the grill and let it rest for about 5 minutes. This step is crucial because it helps the juices redistribute, making your chicken juicy and tender. Now, slice it into strips!
Assembling the Salad
Now for the fun part—putting it all together! In a large bowl, toss the chopped romaine lettuce with the Caesar dressing and grated Parmesan cheese. Make sure everything is well-coated; this is where the flavor really kicks in! Just before serving, lay those lovely chicken strips on top and sprinkle with croutons for that delightful crunch. Toss everything gently, so you don’t crush the croutons, and voila! Your Caesar Chicken is ready to impress! Serve it up immediately while it’s fresh.
Why You’ll Love This Recipe
This Caesar Chicken is a real winner for so many reasons! I can’t help but rave about it—it’s quick, easy, and bursting with flavor. Plus, it’s a healthy option that doesn’t skimp on taste. Here’s why you’ll absolutely adore this recipe:
- Quick to prepare—ready in just 25 minutes!
- Easy to customize based on your personal taste.
- Full of classic Caesar salad flavors combined with juicy grilled chicken.
- Perfect for meal prep—make it ahead and enjoy it throughout the week!
- Low in fat while still being satisfying and delicious.
- Great for busy weeknights or even impressing guests at a casual dinner.
- Fresh ingredients mean maximum flavor and nutrition.
Honestly, it’s hard to beat a dish that checks all these boxes. Once you try it, you’ll see why this Caesar Chicken has a special place in my heart!
Tips for Success
To make your Caesar Chicken truly shine, I’ve got some tried-and-true tips that’ll elevate your dish to the next level! Trust me, these little details can make all the difference.
- Grill Temperature: Make sure your grill is preheated properly to medium-high. If it’s too hot, the chicken can char on the outside while still being raw inside. A perfect grilling temperature is key to juicy chicken!
- Don’t Overcook: Keep an eye on your chicken! Cooking times can vary based on thickness. Use a meat thermometer if you have one; chicken is cooked through at 165°F (75°C). This ensures it’s perfectly juicy!
- Let It Rest: After grilling, letting the chicken rest for those 5 minutes is critical. It allows the juices to redistribute, making every bite moist and flavorful.
- Seasoning Matters: Feel free to experiment with the seasoning! A sprinkle of garlic powder or a dash of Italian herbs can add an extra layer of flavor. And don’t be shy with the salt and pepper; they bring out the natural taste of the chicken.
- Freshness is Key: Use the freshest romaine lettuce and high-quality Caesar dressing. It really makes a difference in taste. If you can, try to find homemade or gourmet dressings!
- Serving Suggestions: This Caesar Chicken pairs wonderfully with a side of grilled vegetables or a light pasta salad. You could even serve it with a crisp white wine for an added touch of elegance!
With these tips in your back pocket, you’ll be on your way to making the most amazing Caesar Chicken ever! Happy cooking!
Nutritional Information
Let’s talk about the nutritional goodness packed into this Caesar Chicken! Each serving is not only delicious but also a great choice for those looking for a balanced meal. Here’s a quick look at the estimated nutritional values per serving:
- Calories: 320
- Total Fat: 18g
- Saturated Fat: 4g
- Unsaturated Fat: 10g
- Trans Fat: 0g
- Cholesterol: 75mg
- Sodium: 650mg
- Carbohydrates: 10g
- Fiber: 1g
- Sugar: 2g
- Protein: 30g
Keep in mind that these values can vary slightly based on the specific brands or types of ingredients you use. But overall, you’re looking at a hearty dish that fits well into a healthy diet! Enjoy your Caesar Chicken guilt-free, knowing it’s both satisfying and good for you!
FAQ Section
I know you might have some burning questions about making the perfect Caesar Chicken, so let’s tackle a few of the most common ones! I’ve had my fair share of kitchen experiments, and I’m here to share what I’ve learned along the way.
Can I use different types of chicken?
Absolutely! While I love using chicken breasts for this Caesar Chicken, you can also use thighs if you prefer dark meat. Just adjust the cooking time a bit since thighs may need a minute or two longer to cook through.
What if I don’t have Caesar dressing?
No worries! You can whip up a quick homemade dressing using mayonnaise, lemon juice, garlic, anchovy paste (if you have it), and a sprinkle of Parmesan. It’ll give you that classic flavor without store-bought dressing.
Can I make this ahead of time?
Yes, you can! You can grill the chicken a day ahead and store it in the fridge. Just reheat it gently on the grill or in a pan before serving. Assemble the salad fresh to keep everything crisp and delicious.
What can I substitute for croutons?
If you want to skip the croutons or need a gluten-free option, try using toasted nuts like almonds or walnuts for that crunch! You could even use crispy chickpeas for a fun twist.
How should I store leftovers?
Store any leftover Caesar Chicken in an airtight container in the fridge for up to 3 days. Just keep the salad separate from the chicken to maintain that fresh crunch. When you’re ready to enjoy it again, simply toss the ingredients together—easy-peasy!
With these tips and answers, I hope you feel more confident tackling your Caesar Chicken adventure! Happy cooking!
Storage & Reheating Instructions
So, you’ve made this delicious Caesar Chicken, and now you have some leftovers—awesome! Let’s make sure you store them right so you can enjoy every last bite. Allow the chicken to cool completely before packing it away. Store any leftover Caesar Chicken in an airtight container in the fridge for up to 3 days. Keeping the salad separate from the chicken is key to preserving that delightful crunch in the romaine and croutons!
When you’re ready to dig in again, reheating is super simple. For the chicken, I recommend warming it up on the grill or in a skillet over medium heat for about 5 minutes, flipping it halfway through to ensure it heats evenly. You can also pop it in the microwave for about 30-45 seconds, but be careful not to overdo it; we don’t want dry chicken, right?
If you’ve stored the salad separately, just toss it together with the fresh chicken right before serving for that just-made vibe. It’s all about keeping that fresh taste alive! Enjoy your leftovers, and remember—nothing beats the taste of Caesar Chicken, even the next day!
Serving Suggestions
Now that you’ve whipped up this scrumptious Caesar Chicken, let’s talk about what to serve alongside it to make your meal even more delightful! I love to create a well-rounded plate that enhances those fantastic Caesar flavors while adding variety. Here are some of my favorite ideas:
- Grilled Vegetables: A colorful mix of zucchini, bell peppers, and asparagus drizzled with olive oil and grilled until tender makes for a perfect side. The smoky flavor complements the chicken beautifully!
- Garlic Bread: Who can resist warm, crispy garlic bread? It’s a classic pairing that’s always a hit. Just slice a baguette, spread on some garlic butter, and pop it in the oven for a few minutes!
- Quinoa Salad: For a light and nutritious option, consider a quinoa salad tossed with cherry tomatoes, cucumber, and a squeeze of lemon. It adds a refreshing touch to your meal!
- Roasted Potatoes: Crunchy on the outside and fluffy on the inside, roasted potatoes seasoned with rosemary or garlic are a satisfying addition that balances the meal.
- Fruit Salad: To finish off your meal on a sweet note, a light fruit salad with berries, melons, and a hint of mint can be a refreshing palate cleanser.
These sides not only complement the Caesar Chicken but also provide a lovely variety of textures and flavors. Mix and match to your heart’s content, and enjoy every bite of your delicious meal!
Print
Sticky Banana Walnut Cake with Toffee Drizzle
- Prep Time: 20 minutes
- Cook Time: 45 minutes
- Total Time: 1 hour 5 minutes
- Yield: 8-10 servings 1x
- Category: Dessert
- Method: Baking
- Cuisine: American
- Diet: Vegetarian
Description
A delicious and moist Sticky Banana Walnut Cake topped with a rich toffee drizzle, perfect for any occasion.
Ingredients
- 1 ½ cups (190g) all-purpose flour
- 1 tsp baking powder
- ½ tsp baking soda
- ½ tsp salt
- 1 tsp ground cinnamon
- ½ cup (115g) unsalted butter, softened
- ¾ cup (150g) brown sugar
- 2 large eggs
- 1 tsp vanilla extract
- 3 ripe bananas, mashed (about 1 ½ cups / 360g)
- ½ cup (120g) sour cream or Greek yogurt
- ¾ cup (90g) chopped walnuts
- ½ cup (100g) brown sugar
- ¼ cup (60g) unsalted butter
- ¼ cup (60ml) heavy cream
- ½ tsp vanilla extract
Instructions
- Prepare the bananas by peeling and mashing them until smooth.
- Mix the dry ingredients: flour, baking powder, baking soda, salt, and cinnamon in a medium bowl.
- Cream the butter and brown sugar in a large bowl until light and fluffy, then add eggs, vanilla, mashed bananas, and sour cream.
- Fold the dry ingredients into the wet mixture gently, then add the chopped walnuts.
- Pour the batter into a prepared cake pan and bake at 350°F (175°C) for 40-45 minutes.
- Prepare the toffee drizzle by heating brown sugar, butter, and heavy cream in a saucepan until thickened.
- Once the cake is baked and cooled, drizzle the toffee sauce over the top before serving.
Notes
- Use ripe bananas for the best flavor and moisture.
- Store the cake in an airtight container at room temperature.
- For gluten-free options, substitute all-purpose flour with a gluten-free blend.
- Consider adding chocolate chips or dried fruits for variations.
Nutrition
- Serving Size: 1 slice
- Calories: 350
- Sugar: 25g
- Sodium: 150mg
- Fat: 15g
- Saturated Fat: 8g
- Unsaturated Fat: 5g
- Trans Fat: 0g
- Carbohydrates: 50g
- Fiber: 2g
- Protein: 4g
- Cholesterol: 50mg
Keywords: banana cake, walnut cake, toffee drizzle, dessert, baking