

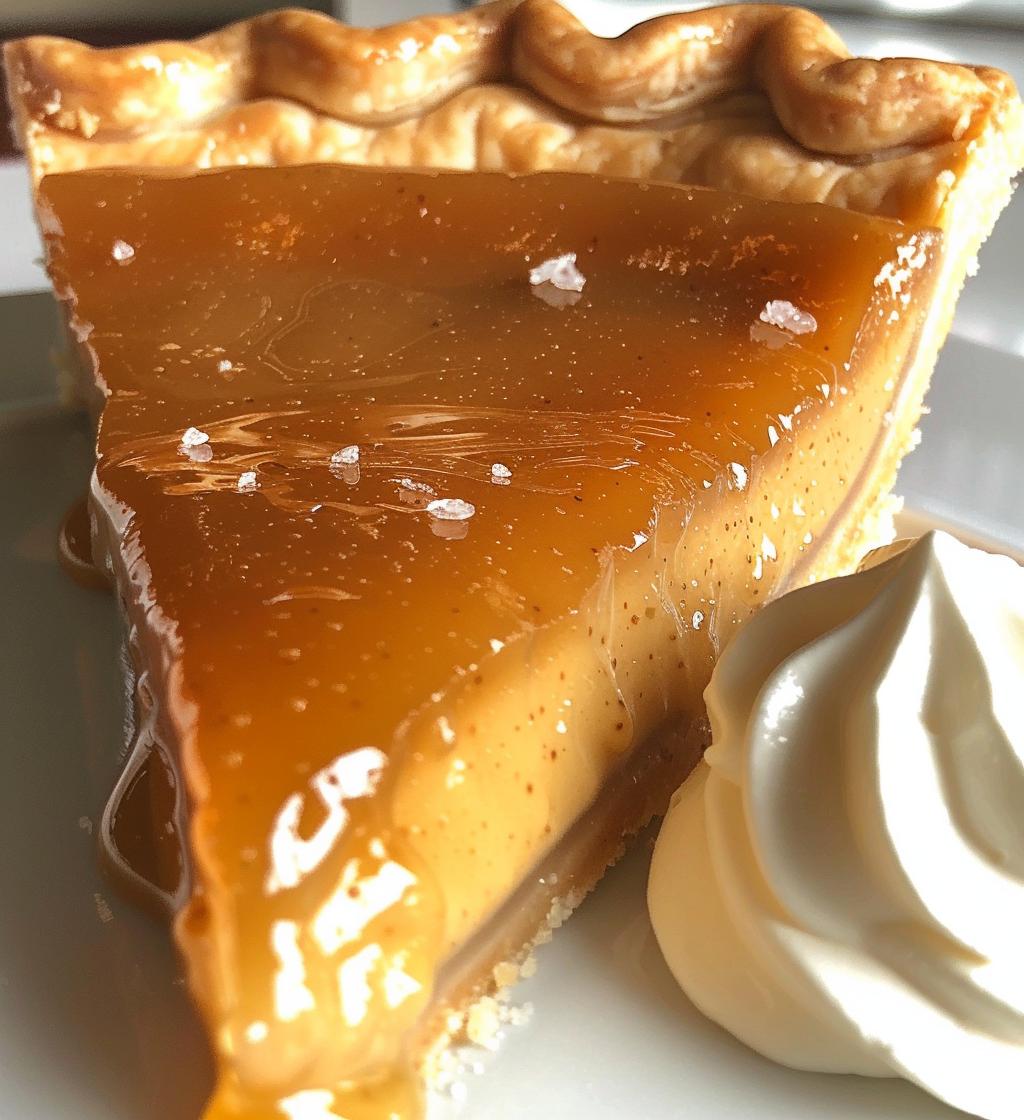
Oh my goodness, let me tell you about my love affair with Salted Honey Pie! This pie is like a sweet hug on a plate—it’s got that delightful balance of rich honey sweetness and a touch of salt that just makes your taste buds dance. I first discovered this gem at a little local bakery, and I was instantly hooked! The way the filling is both creamy and velvety, with that slight saltiness cutting through the sweetness, is simply divine. Trust me, once you take a bite, you’ll understand why I keep coming back to this recipe. It’s perfect for gatherings, cozy nights in, or whenever you want to impress someone special. Let’s dive in and make some magic happen in the kitchen!
Ingredients List
Gathering the right ingredients is the first step to creating your delicious Salted Honey Pie! Here’s what you’ll need:
- 1 pie crust (store-bought or homemade, your choice!)
- 1 cup honey (the star of the show—choose a good quality for the best flavor)
- 3 large eggs (room temperature helps with blending)
- 1/4 cup unsalted butter, melted (for that rich, buttery goodness)
- 1/2 teaspoon salt (it balances the sweetness beautifully)
- 1 teaspoon vanilla extract (adds a warm, inviting flavor)
- 1 tablespoon all-purpose flour (this helps set the filling)
Make sure to measure everything out before you start mixing, so you’re all set and ready to go. Let’s get cooking!
How to Prepare Salted Honey Pie
Alright, let’s get into the nitty-gritty of making this fabulous Salted Honey Pie! It’s simpler than you might think, and I promise you’ll feel like a pastry wizard by the end. Here’s how it all comes together:
Step 1: Preheat the Oven
First things first, you’ll want to preheat your oven to 350°F (175°C). This step is crucial because a well-heated oven ensures that your pie bakes evenly and gets that lovely golden crust. So, go ahead and set that temperature while you prepare the filling!
Step 2: Mix the Filling
Now, grab a large mixing bowl and whisk together the star ingredients: honey, eggs, melted butter, salt, and vanilla extract. I like to whisk it for about 1-2 minutes until it’s nice and smooth—you want that mixture to be well combined and a little frothy. The aroma of honey mixed with vanilla is just heavenly!
Step 3: Add Flour
Next, it’s time to incorporate the flour. Gently sprinkle it over your mixture and fold it in carefully. You’re looking for a smooth, slightly thickened consistency. Don’t overmix—just a few gentle strokes until it’s all blended. This will help give your pie filling that perfect texture.
Step 4: Pour into Crust
Now comes the fun part! Pour that luscious filling into your prepared pie crust. Make sure to spread it evenly so it bakes uniformly. I like to give the pie plate a little shake to settle everything nicely. Trust me; it’s worth it!
Step 5: Bake the Pie
Put your pie in the oven and bake for 35-40 minutes. You’ll know it’s done when the filling is set but still has a slight jiggle in the center. It’ll firm up as it cools, so don’t worry if it looks a bit soft at first. Just keep an eye on it so it doesn’t overbake!
Step 6: Cooling Time
Once it’s out of the oven, let your pie cool completely before serving. This waiting period is key because it allows the flavors to develop and the texture to set perfectly. I know it’s tough to resist, but trust me, that first slice will be even better after it’s had a bit of time to chill!
Why You’ll Love This Recipe
Oh, let me tell you why this Salted Honey Pie is going to become your new favorite! First off, it’s incredibly simple to whip up, making it perfect for both novice bakers and seasoned pros. The unique flavor combination of sweet honey and a hint of salt is truly unforgettable—it’s a crowd-pleaser for sure! Plus, it looks stunning when you serve it, so you’ll definitely impress your guests. Trust me, they’ll be asking for seconds!
Tips for Success
To really make your Salted Honey Pie shine, let’s talk about a few pro tips! First, always use high-quality honey—its flavor is the star of this pie, so go for something local or artisanal if you can. When it comes to baking, make sure your oven temperature is accurate; an oven thermometer can be a lifesaver! And don’t skip letting the pie cool completely before slicing; this ensures the filling sets nicely. As for toppings, a dollop of freshly whipped cream or a sprinkle of flaky sea salt on top takes it to another level. Happy baking!
Storage & Reheating Instructions
Once you’ve enjoyed your Salted Honey Pie, you might have some leftovers (if you’re lucky!). To store, simply cover the pie with plastic wrap or aluminum foil and keep it in the refrigerator for up to 4 days. If you want to reheat a slice, pop it in the microwave for about 10-15 seconds, just until it’s warmed through. You can also enjoy it cold—it’s delicious either way! Just make sure to savor every bite!
Nutritional Information Section
Curious about the nutritional breakdown of your delightful Salted Honey Pie? Here’s a rough estimate per slice (based on 8 servings): around 250 calories, 10g of fat, 4g of protein, and 35g of carbohydrates. Keep in mind, this is just an estimate, but it gives you a good idea of what you’re indulging in. Enjoy every delicious bite!
FAQ Section
Got questions about your Salted Honey Pie? I’ve got answers! One of the most common queries is about ingredient alternatives. If you’re out of honey, you can substitute it with maple syrup for a different but equally delicious flavor. Also, if you want a gluten-free option, try using almond flour instead of all-purpose flour. When it comes to serving suggestions, I highly recommend pairing it with a dollop of whipped cream or even a scoop of vanilla ice cream for a delightful contrast. If you’re planning to make this pie ahead of time, just bake it and let it cool completely before storing it in the fridge. It actually tastes even better the next day as the flavors meld! Enjoy your baking adventure!