

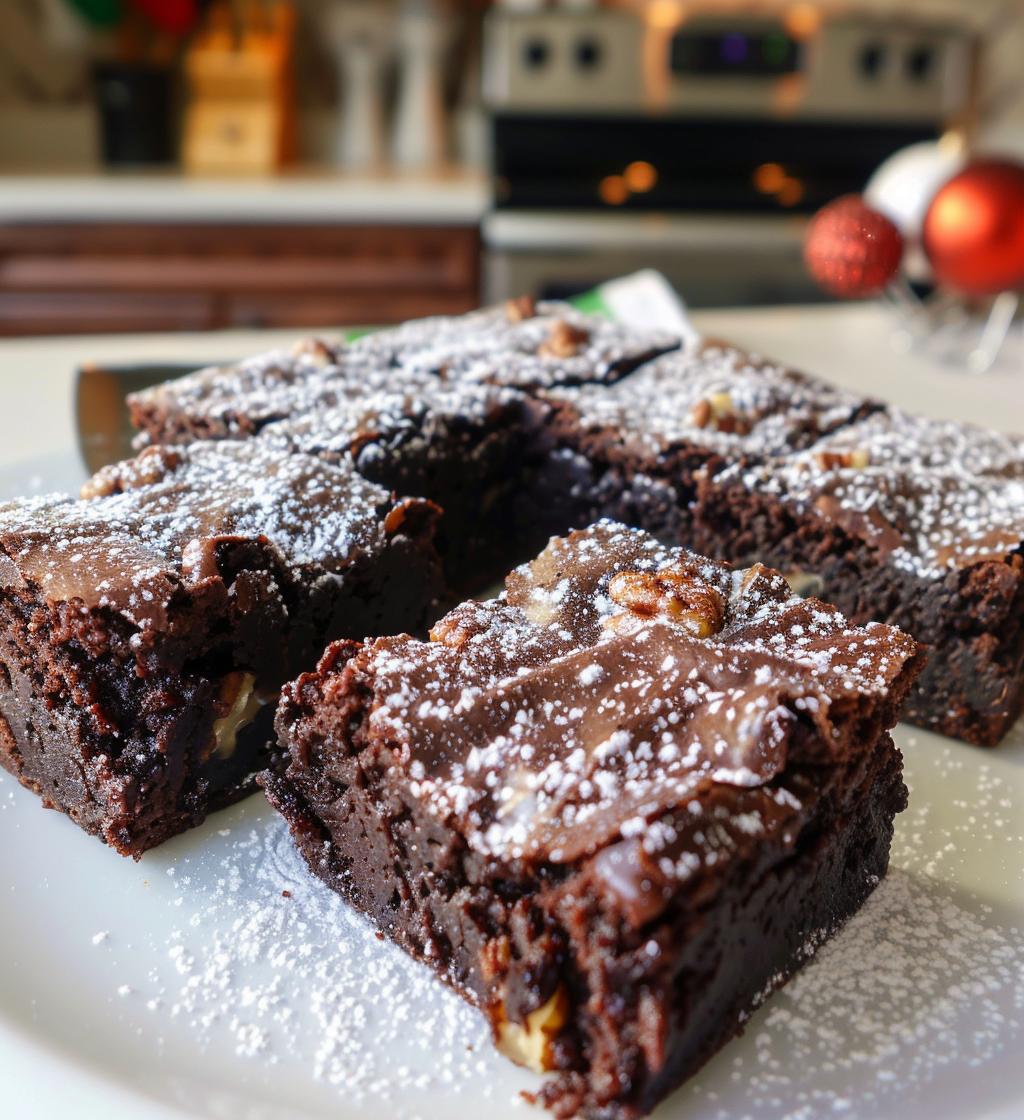
There’s something magical about Christmas brownies that just fills the kitchen with warmth and joy! Picture this: rich chocolatey goodness, perfectly fudgy, and just a hint of festive spirit from the walnuts and a dash of vanilla. Every bite feels like a cozy hug on a cold winter day. I remember my grandma used to whip up a batch every holiday season, and the smell of those brownies would drift through the house, pulling everyone together. It was a tradition to gather around the table, sharing stories and laughter, all while indulging in those delicious treats. Trust me, once you make these brownies, they’ll become a cherished part of your holiday celebrations too! Let’s dive into this delightful recipe that captures the essence of Christmas in every bite.
Ingredients for Christmas Brownies
- 1 cup unsalted butter, melted
- 2 cups granulated sugar
- 4 large eggs
- 1 teaspoon vanilla extract
- 1 cup all-purpose flour
- 1 cup cocoa powder
- 1/2 teaspoon salt
- 1 cup chocolate chips
- 1/2 cup chopped walnuts (optional, for a little extra crunch)
Make sure to gather all your ingredients before starting! It really helps the process go smoothly. I always measure everything out in advance—it’s like having a little pre-party for baking! Trust me, you’ll want everything at your fingertips when that chocolate craving hits!
How to Prepare Christmas Brownies
Step 1: Preheat and Prepare
Alright, let’s get this brownie party started! First things first, preheat your oven to 350°F (175°C). While that’s warming up, grab a 9×13 inch baking pan and grease it well. I love using butter for greasing because it adds a little extra flavor, but cooking spray works just as well! Just make sure the whole base is covered so those brownies don’t stick.
Step 2: Melt and Mix
Now, let’s melt that delicious butter! In a saucepan over low heat, melt the butter gently—this is key to keeping it smooth and luscious. Once it’s melted, take it off the heat and stir in the granulated sugar, eggs, and vanilla extract. Make sure to mix it well until everything is nicely combined and smooth. This step is crucial because you want that lovely, creamy texture that makes your brownies so irresistible!
Step 3: Combine Dry Ingredients
In a separate bowl, whisk together the flour, cocoa powder, and salt. Now, slowly add this dry mixture to your wet ingredients. Stir gently until just combined—don’t overmix! We want those brownies to stay fudgy and rich, not tough. As soon as you see no more dry flour, you’re good to go!
Step 4: Add Chocolate Chips and Nuts
Here comes the fun part! Fold in the chocolate chips and, if you’re using them, the chopped walnuts. Be gentle here—just a few folds will do. You want to keep that lovely airiness in the batter so your brownies are soft and chewy. Plus, those chocolate chips will melt into gooey pockets of delight!
Step 5: Bake and Cool
Pour the brownie batter into your prepared pan, spreading it out evenly. Pop it in the oven and bake for about 25-30 minutes. To check if they’re done, stick a toothpick in the center—if it comes out with a few moist crumbs (not wet batter!), it’s perfect. Once baked, let them cool in the pan for a bit before transferring to a wire rack. Patience is key! Letting them cool makes cutting them into squares so much easier, and trust me, your kitchen will smell heavenly during this time.
Why You’ll Love This Recipe
- Deliciously rich chocolate flavor that’s perfect for the holidays
- Simple and straightforward recipe—perfect for bakers of all levels
- Festive touch with optional walnuts for added crunch
- Perfectly fudgy texture that melts in your mouth
- Great for sharing with friends and family, or keeping all to yourself!
Tips for Success
To make sure your Christmas brownies turn out perfectly every time, here are some handy tips! First, always use high-quality cocoa powder—it really makes a difference in flavor. I love using Dutch-processed cocoa for that rich, deep chocolate taste. Also, be sure not to overmix your batter; we want that fudgy texture, not rubbery brownies! Keep an eye on your baking time, too. Every oven is a bit different, so start checking for doneness around the 25-minute mark. When it comes to storing, let the brownies cool completely before placing them in an airtight container. They stay fresh for up to a week, or you can freeze them for up to three months—just make sure to wrap them tightly! Trust me, these little tips will make your brownies a holiday hit!
FAQ About Christmas Brownies
Can I use different nuts or omit them?
Absolutely! If you’re not a fan of walnuts or just want to switch things up, feel free to use other nuts like pecans or almonds. You can also completely omit the nuts if you prefer a nut-free brownie. No worries, they’ll still be deliciously rich and chocolatey!
How should I store the brownies?
To keep your brownies fresh and fudgy, store them in an airtight container at room temperature. They’ll stay good for about a week, but trust me, they probably won’t last that long! If you want to keep them for a longer time, you can freeze them. Just wrap each brownie tightly in plastic wrap, then place them in a freezer-safe bag or container. They can be frozen for up to three months. When you’re ready to enjoy, simply let them thaw at room temperature!
Can I make these brownies gluten-free?
Yes, you can easily make these brownies gluten-free! Just substitute the all-purpose flour with a 1:1 gluten-free baking flour blend. I recommend using one that contains xanthan gum for the best texture. The brownies will still be just as fudgy and delicious, so don’t hesitate to give it a try!
Nutritional Information Disclaimer
Just a quick note, my friends! The nutritional information provided for these Christmas brownies can vary based on the specific ingredients and brands you use. So, while I’ve done my best to give you a ballpark figure, please keep in mind that precise values aren’t guaranteed. I always recommend checking the labels on your ingredients for the most accurate information. Happy baking and enjoy every delicious bite!
Share Your Thoughts!
I’d absolutely love to hear from you! Have you tried making these Christmas brownies? What did you think? Did you add your own twist or share them with friends and family? Your experiences make this cooking journey even more special! So, don’t be shy—drop a comment below and let me know how it went. If you have any questions or need tips, I’m here to help! Let’s spread the joy of baking together!
For more delicious recipes, check out our all recipes page!
For tips on baking with chocolate, visit Cooking Light.
And if you’re interested in gluten-free baking, you can find great resources at Gluten Free Baking.