

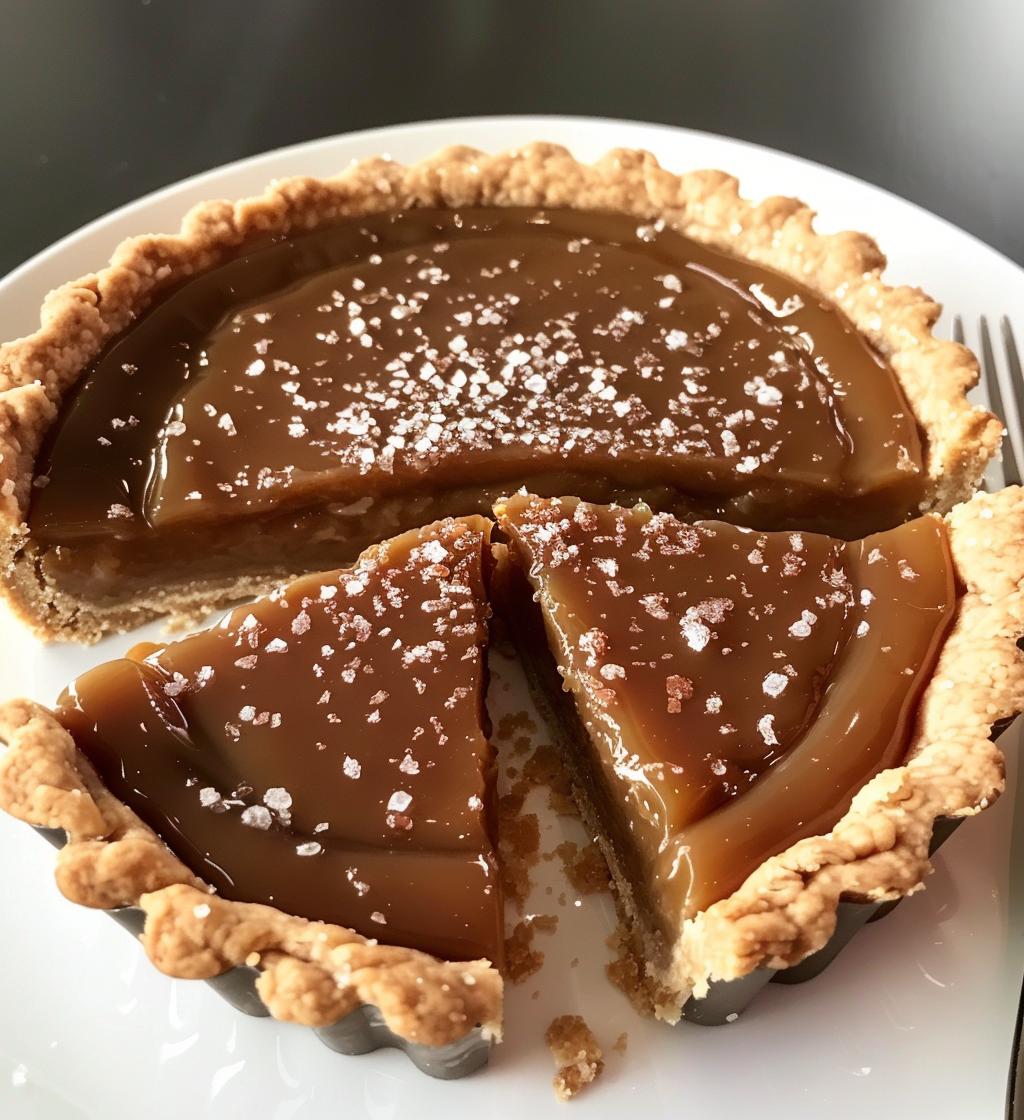
Oh my goodness, let me tell you about this salted caramel tart! It’s like a symphony of flavors in every bite—sweet, salty, and downright decadent. Imagine a buttery, melt-in-your-mouth crust cradling a rich, luscious caramel filling that’s just the right balance of sweet and salty. Trust me, the first time I made this tart, I could hardly wait for it to cool before diving in! It’s perfect for impressing guests or just treating yourself after a long day. Plus, it’s surprisingly easy to whip up! You’ll love how a few simple ingredients come together to create a dessert that feels fancy but is totally approachable. Let’s get into how to make this delightful treat!
Ingredients List
- 1 1/4 cups all-purpose flour
- 1/2 cup unsalted butter, softened
- 1/4 cup powdered sugar
- 1/4 teaspoon salt
- 1/4 cup heavy cream
- 1 cup granulated sugar
- 1/4 cup water
- 1/2 cup light corn syrup
- 1 teaspoon sea salt
- 1/2 teaspoon vanilla extract
How to Prepare Instructions
Preparing the Tart Shell
Let’s start with that buttery crust! First, preheat your oven to 350°F (175°C). In a mixing bowl, combine the all-purpose flour, softened butter, powdered sugar, and salt. I like to use my hands to mix this together until it resembles coarse crumbs—it really helps to get that perfect texture! Once it’s combined, press the mixture evenly into the bottom and up the sides of a tart pan. Don’t worry if it seems like there’s not enough; just keep pressing, and it’ll work out! Now, pop it in the oven and bake for about 15 minutes or until it’s golden brown. The smell will be heavenly, I promise. Once done, let it cool while we whip up that decadent filling!
Making the Salted Caramel Filling
Now onto the star of the show: the salted caramel! In a medium saucepan, combine the granulated sugar, water, and light corn syrup. Cook this over medium heat, stirring gently until the sugar dissolves. Now, here’s the fun (and slightly nerve-wracking) part—watch it closely as it cooks! You want to see it transform into a beautiful amber color, which usually takes about 8-10 minutes. Be careful; hot sugar can splatter! Once it reaches that perfect color, remove it from the heat. This is where you need to be super cautious: slowly whisk in the heavy cream and sea salt. It’ll bubble up, so keep your hands clear! Finally, stir in the vanilla extract for that lovely depth of flavor. Pour this luscious caramel into the cooled tart shell and let it sit at room temperature. I know, it’s hard to wait, but let it cool completely before slicing into it. This tart is best enjoyed after it’s had time to set!
Why You’ll Love This Recipe
- Quick and easy preparation—perfect for last-minute dessert plans!
- Rich, velvety caramel filling that’s a showstopper in any setting.
- Impressive presentation that looks like you spent hours in the kitchen.
- Perfect balance of sweet and salty flavors that keeps everyone coming back for more.
- Versatile dessert that pairs wonderfully with whipped cream or fresh fruit.
- Great for sharing at parties, or just indulging in a slice yourself!
Tips for Success
To make your salted caramel tart a true masterpiece, I’ve got a few tips that’ll elevate your baking game! First, use high-quality butter and pure vanilla extract—trust me, it makes a world of difference in flavor. When making the caramel, keep a close eye on the color; it can go from perfect to burnt in a flash. If you’re nervous about working with hot sugar, use a candy thermometer to ensure it reaches around 350°F (175°C). Once your tart is cooled, serve it with a dollop of freshly whipped cream to balance that rich caramel. And don’t forget to sprinkle a little extra sea salt on top just before serving; it really enhances all those lovely flavors! Enjoy every delicious bite!
Nutritional Information
Here’s the estimated nutritional breakdown for each slice of this delicious salted caramel tart: approximately 300 calories, 15g of fat, 2g of protein, and 36g of carbohydrates. You’ll also find 25g of sugar and 150mg of sodium per serving. Keep in mind that these values are estimates and can vary based on ingredient brands and portion sizes. So, indulge a little, but maybe keep an eye on those slices if you’re counting calories! Enjoy every bite!
FAQ Section
Can I make this salted caramel tart in advance?
Absolutely! This tart is perfect for making a day ahead. Just let it cool completely, cover it tightly, and store it in the fridge. The flavors actually deepen overnight, which makes it even more delicious!
What can I substitute for heavy cream?
If you’re looking for a lighter option, you can use half-and-half, but be aware that it might not be as rich. You could also try coconut cream for a dairy-free alternative—it adds an interesting flavor twist!
How do I know when the caramel is ready?
Watch for that beautiful amber color and make sure to use a candy thermometer if you’re unsure. It should reach around 350°F (175°C). Trust me, it’s worth the wait to get that perfect caramel consistency!
Can I freeze the salted caramel tart?
Yes, you can! Just slice it up and wrap individual pieces tightly in plastic wrap, then place them in an airtight container. It’ll keep in the freezer for about a month. Just thaw in the fridge before enjoying!
Why is my caramel grainy?
Oh no! Grainy caramel usually happens if the sugar crystallizes. To avoid this, make sure to stir gently and avoid splashing the sugar mixture up the sides of the pan. If it does get grainy, you can try reheating it with a bit of water to smooth it out.
Storage & Reheating Instructions
Storing your salted caramel tart is super simple! Just cover it tightly with plastic wrap or aluminum foil and keep it in the refrigerator. It’ll stay fresh for about 5 days. If you’re like me and can’t resist a slice or two, it’s perfect for enjoying throughout the week!
If you need to reheat it, I recommend slicing a piece and gently warming it in the microwave for about 10-15 seconds—just enough to make it slightly warm and gooey. It’s such a treat! Enjoy your tart at room temperature or warm, whichever you prefer!
For more delicious recipes, check out our all recipes page!
For tips on making the perfect caramel, you can visit Serious Eats for a detailed guide.
And if you’re interested in exploring more dessert options, take a look at our cakes category!