

Ah, the holiday season! There’s just something magical about the smell of freshly baked cookies wafting through the house, isn’t there? It’s like a warm hug on a chilly winter day. Christmas cookies are a cherished tradition in my home, and I can’t imagine the holidays without them. They bring family and friends together, filled with laughter and cheer as we decorate and devour these sweet treats. Trust me, nothing compares to that first bite of a buttery, sugary cookie that melts in your mouth, sprinkled with festive colors and a hint of nostalgia. So, gather your loved ones and get ready to create some delicious Christmas cookies that will make your holiday season a little brighter!
Ingredients for Christmas Cookies
Before we dive into baking, let’s gather all the goodies you’ll need to whip up these festive delights. Trust me, having everything prepped and ready makes the process so much smoother! Here’s what you’ll need:
- 2 cups all-purpose flour
- 1 cup granulated sugar
- 1 cup unsalted butter, softened (make sure it’s at room temperature for easy mixing!)
- 1 large egg (the binding superstar!)
- 1 teaspoon vanilla extract (for that warm, cozy flavor)
- 1 teaspoon baking powder (to give those cookies a lovely rise)
- 1/2 teaspoon salt (it enhances the sweetness, trust me)
- 1 cup powdered sugar for decoration (to sprinkle that holiday magic)
- Sprinkles for decoration (go wild with colors—it’s Christmas!)
Once you’ve got these ingredients on hand, you’re all set to create some irresistible Christmas cookies that will fill your home with joy!
How to Prepare Christmas Cookies
Alright, let’s get our hands doughy and dive into the process! Making these Christmas cookies is not just about the end result—it’s about the joy of baking together, the laughter, and of course, the delicious smells wafting through your home. Follow these steps, and you’ll be on your way to cookie perfection!
Step-by-Step Instructions
- Preheat your oven: First things first, preheat your oven to 350°F (175°C). This will ensure that your cookies bake evenly and come out perfectly golden.
- Cream the butter and sugar: In a large mixing bowl, cream together the softened unsalted butter and granulated sugar. Use a hand mixer or stand mixer and beat until the mixture is smooth and fluffy. This step is crucial—it helps incorporate air for light and tender cookies!
- Add the wet ingredients: Crack in that large egg and pour in the vanilla extract. Mix well until everything is combined. You want a nice, homogenous mixture here!
- Combine the dry ingredients: In another bowl, whisk together the all-purpose flour, baking powder, and salt. This helps evenly distribute the leavening agents, ensuring your cookies rise beautifully.
- Mix it all together: Gradually add the dry mixture to your wet ingredients. I find it’s best to do this in batches—start with a third of the flour mixture, mix until just combined, then add more. Repeat until it’s all in there. Be careful not to overmix; we want tender cookies, not tough ones!
- Shape the cookies: Now, roll the dough into small balls—about 1 inch in diameter works great. Place them on a baking sheet lined with parchment paper, leaving a little space between each one (they’ll spread out a bit while baking!).
- Bake to perfection: Pop those beauties in the oven and bake for 10-12 minutes. You want them to be lightly golden around the edges but still soft in the center. They’ll firm up as they cool, so don’t overbake!
- Cool and decorate: Once baked, let the cookies cool on the baking sheet for a few minutes before transferring them to a wire rack. This is key to keeping them from breaking. Once they’re cool, it’s time to sprinkle on that powdered sugar and add your colorful sprinkles—let your creativity shine!
And voila! Your delicious Christmas cookies are ready to spread joy and delight. The best part? You can enjoy them right away or share them with loved ones. What could be better than that?
Why You’ll Love These Christmas Cookies
These Christmas cookies aren’t just your average holiday treat; they’re a delightful experience that brings joy with every bite! Here’s why you’ll absolutely adore making (and eating) these festive goodies:
- Delicious Taste: Buttery, sweet, and just the right amount of festive flavor—these cookies are sure to satisfy your sweet tooth!
- Easy Preparation: With simple ingredients and straightforward steps, even novice bakers can whip up a batch of these delightful cookies without any stress.
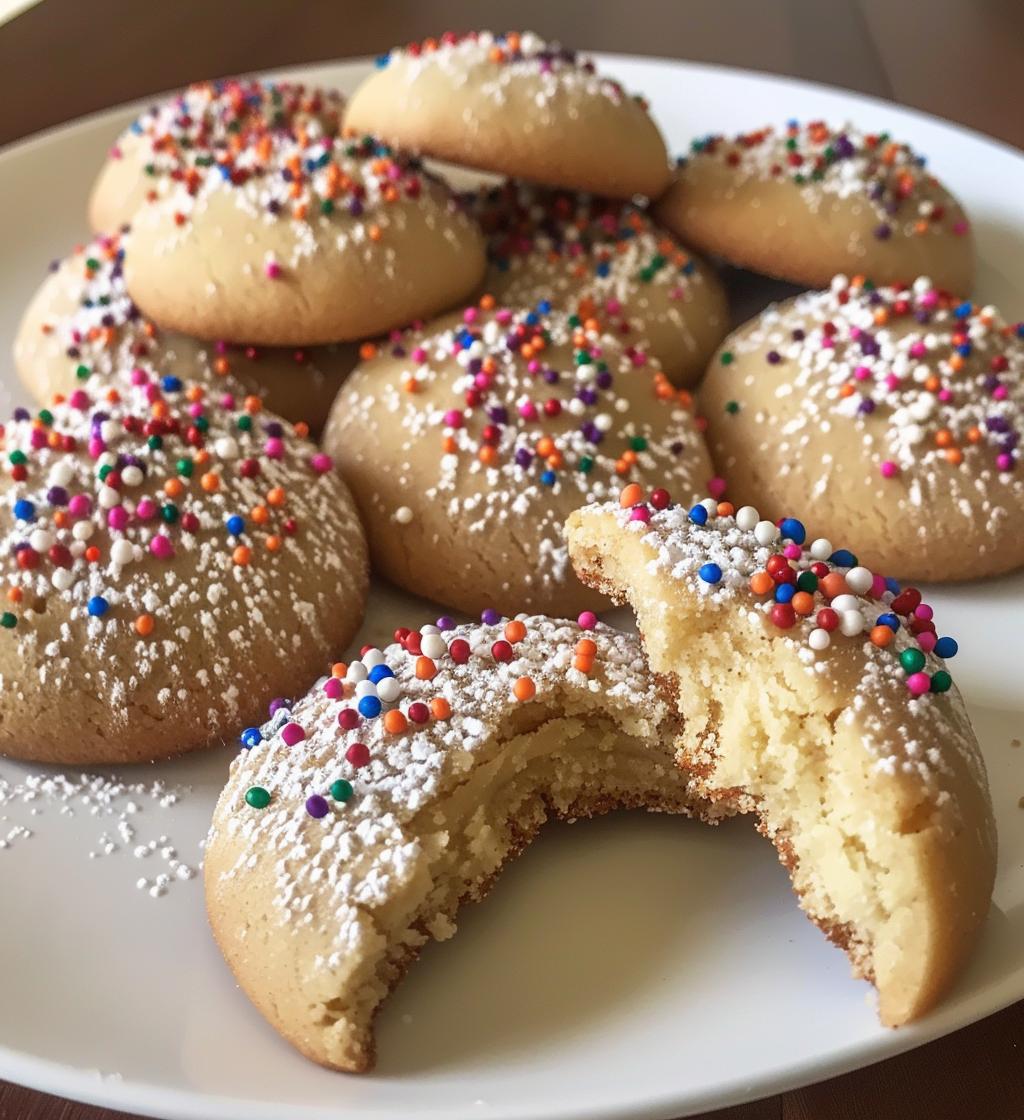
- Festive Appearance: The colorful sprinkles and powdered sugar topping make these cookies not only tasty but visually appealing, perfect for sharing at holiday gatherings!
- Perfect for Decorating: Get the whole family involved in decorating! You can customize each cookie with different designs, making it a fun holiday activity.
- Great for Gifting: Pack them up in a cute tin or box, and you’ve got a heartfelt gift that’s sure to bring smiles!
- Memory-Making: Baking these cookies creates cherished memories with loved ones, filled with laughter and joy that you’ll remember for years to come.
Trust me, you’ll find these Christmas cookies are not only a treat to the taste buds but also a wonderful way to spread holiday cheer!
Tips for Success
Now that you’re all set to bake these delightful Christmas cookies, let me share some of my top tips to ensure they turn out perfectly every single time! I promise these little nuggets of wisdom will make a big difference in your baking adventure:
- Use Room Temperature Ingredients: Make sure your butter and egg are at room temperature before you start mixing. This helps create a smooth batter and ensures the cookies rise nicely. Trust me, it’s worth the wait!
- Measure Flour Correctly: Be careful not to pack the flour into your measuring cup. Instead, spoon it into the cup and level it off with a knife. Too much flour can lead to dry cookies, and we definitely don’t want that!
- Don’t Overmix: When you combine the wet and dry ingredients, mix just until everything is incorporated. Overmixing can make the cookies tough, and we want them to be tender and melt-in-your-mouth delicious!
- Watch the Baking Time: Ovens can vary, so keep a close eye on your cookies as they bake. They should be lightly golden around the edges and still soft in the center when you take them out. Remember, they’ll continue to firm up as they cool!
- Let Them Cool: Allow the cookies to cool on the baking sheet for a few minutes before transferring them to a wire rack. This helps them set up nicely and prevents breakage. Patience is key here!
- Get Creative with Decorations: When it comes to decorating, the sky’s the limit! Use different colored sprinkles, edible glitter, or even drizzle melted chocolate over the top for an extra festive touch. It’s all about making them fun and beautiful!
- Test a Batch First: If you’re baking a large batch for a gathering, consider making a small test batch first. This way, you can tweak any flavors or decorations to your liking before the big bake!
By following these tips, you’ll be well on your way to baking the most scrumptious Christmas cookies that will impress everyone around the holiday table. Happy baking, my friend!
Nutritional Information for Christmas Cookies
As you indulge in these delightful Christmas cookies, it’s always good to know a bit about what you’re enjoying! Here’s a general idea of the nutritional values per cookie. Keep in mind that these values are estimates and can vary based on exact ingredients and portion sizes:
- Serving Size: 1 cookie
- Calories: 150
- Fat: 7g
- Saturated Fat: 4g
- Unsaturated Fat: 2g
- Trans Fat: 0g
- Cholesterol: 30mg
- Sodium: 50mg
- Carbohydrates: 20g
- Fiber: 0g
- Sugar: 10g
- Protein: 2g
So, as you enjoy these cookies, you can feel a little better knowing what’s in them! Just remember, they’re meant to be a treat to savor during the holiday season—so enjoy every last bite!
Serving Suggestions
Now that you’ve crafted these delightful Christmas cookies, let’s talk about how to serve them up for the ultimate festive experience! Whether you’re hosting a holiday gathering or looking to gift them to friends and family, these cookies can shine in so many ways:
- Cookie Platter: Create a stunning cookie platter by mixing these Christmas cookies with other holiday treats like gingerbread men or peppermint bark. It’s a visual feast that will have everyone reaching for just one more!
- With a Warm Drink: Pair these cookies with a steaming cup of hot cocoa, spiced chai, or mulled wine. The sweetness of the cookies complements the warmth of the drinks perfectly, making for a cozy holiday moment.
- Gift Packaging: Pack a dozen or so cookies into a festive tin or a decorative box. Add a little ribbon or a handwritten note for a personal touch that will warm hearts. Trust me, homemade gifts always feel special!
- Cookie Decorating Station: Set up a fun cookie decorating station at your holiday party! Provide extra sprinkles, icing, and edible glitter so guests can decorate their own cookies. It’s a great way to engage everyone and create lasting memories!
- Holiday Favors: Wrap individual cookies in clear cellophane bags tied with a bow as party favors for your guests. It’s a sweet way to say thank you for celebrating with you!
- Layered Treats: Crumble these cookies over ice cream or yogurt for a festive twist on dessert. The buttery flavor and crunchy texture add a delightful touch to your favorite treats!
No matter how you choose to serve them, these Christmas cookies are sure to bring joy and sweetness to any holiday occasion. Enjoy spreading the cheer!
Storage & Reheating Instructions
Once you’ve baked and decorated your delightful Christmas cookies, you’ll want to make sure they stay fresh and tasty for as long as possible! Here’s how to store your cookies properly and even how to reheat them if you want to enjoy that fresh-baked taste again:
- Storing Leftovers: Place your cookies in an airtight container to keep them soft and chewy. You can layer them with parchment paper to prevent them from sticking together. They’ll last for about a week at room temperature, but trust me, they probably won’t last that long!
- Freezing Cookies: If you want to save some for later, you can freeze your cookies! Just make sure they’re completely cooled, then place them in a single layer on a baking sheet to freeze for a couple of hours. Once frozen, transfer them to a freezer-safe bag or container. They can be kept frozen for up to 3 months. When you’re ready to enjoy them, just let them thaw at room temperature.
- Reheating Tips: If you’d like to enjoy your cookies warm, preheat your oven to 300°F (150°C). Place the cookies on a baking sheet and heat them for about 5-7 minutes. This will refresh them and make them taste like they just came out of the oven! You can also pop them in the microwave for about 10-15 seconds, but be careful not to overdo it—nobody wants a rubbery cookie!
By following these simple storage and reheating techniques, you can keep your Christmas cookies deliciously fresh and ready to enjoy whenever the cravings hit. Happy snacking!
FAQ About Christmas Cookies
Got questions? Don’t worry, I’ve got you covered! Here are some common queries about these delightful Christmas cookies, along with my helpful answers:
Can I use margarine instead of butter?
While I always recommend using unsalted butter for the best flavor and texture, you can substitute margarine if you need to. Just make sure it’s a good quality margarine for baking, as some can lead to different results in texture.
How do I store my Christmas cookies to keep them fresh?
To keep your cookies soft and chewy, store them in an airtight container at room temperature. You can also layer them with parchment paper to prevent sticking. They’ll typically stay fresh for about a week, but let’s be real—they probably won’t last that long!
Can I freeze these Christmas cookies?
Absolutely! Just make sure your cookies are completely cooled before freezing. Place them in a single layer on a baking sheet to freeze for a couple of hours, then transfer them to a freezer-safe bag or container. They can be frozen for up to 3 months. When you’re ready to enjoy, simply thaw at room temperature!
What can I use instead of eggs for a vegan version?
If you’re looking to make these cookies vegan, you can use a flax egg (1 tablespoon ground flaxseed mixed with 3 tablespoons of water, let it sit for about 5 minutes to thicken) or unsweetened applesauce (1/4 cup for each egg). Both options work well to bind your ingredients together!
How can I make my cookies extra festive?
Get creative! You can add different flavored extracts like almond or peppermint, mix in chocolate chips, or even sprinkle some festive edible glitter on top. Consider using themed cookie cutters for fun shapes or adding food coloring to your icing for a pop of color!
What’s the best way to decorate my Christmas cookies?
Let your imagination run wild! After cooling, you can dust them with powdered sugar, drizzle with icing, or decorate with colorful sprinkles. I love setting up a cookie decorating station with friends or family—everyone can join in the fun, and it makes for a wonderful holiday memory!
Why did my cookies spread too much while baking?
This can happen for a couple of reasons, but the most common culprit is warm dough. Make sure your butter is softened but not melted, and if your dough feels too soft, chill it in the fridge for about 30 minutes before baking. This will help them hold their shape better!
How can I adjust the sweetness of the cookies?
If you prefer less sweetness, you can reduce the granulated sugar slightly. Just keep in mind that sugar also contributes to the texture, so don’t cut it back too much. You can also use a sugar substitute, but make sure it’s suitable for baking!
I hope these FAQs help you on your cookie-baking journey! If you have any more questions, feel free to ask. Happy baking!